You’ve brewed the beer, fermented it patiently, and now it’s sitting crystal-clear in the fermenter, waiting to be packaged. What comes next — bottles or a keg? This is the decision that more homebrewers agonize over than almost any other. Both methods work. Both have real advantages. The right choice depends on how you brew, where you live, and how seriously you’ve been bitten by the hobby.
How Bottling Works
Bottling is the default for beginner homebrewers because it requires the least additional equipment beyond a basic starter kit. The process relies on bottle conditioning: you add a measured amount of fermentable priming sugar to the finished beer just before bottling, which the residual yeast in suspension consumes inside the sealed bottle, generating CO₂ and natural carbonation.
Basic bottling equipment:
- Auto-siphon and racking cane
- Bottling bucket with spigot
- Bottle filler (spring-tip wand)
- Bottle capper and caps
- 48 standard 12 oz bottles (or 24 22 oz bombers), cleaned and sanitized
The process takes about 2 hours for a 5-gallon batch and produces approximately 48 bottles of 12 oz each. Bottles condition at room temperature for 1–2 weeks, then benefit from a stint in the refrigerator before serving.
The American Homebrewers Association recommends storing bottle-conditioned beers upright so the yeast cake settles cleanly at the bottom of the bottle.
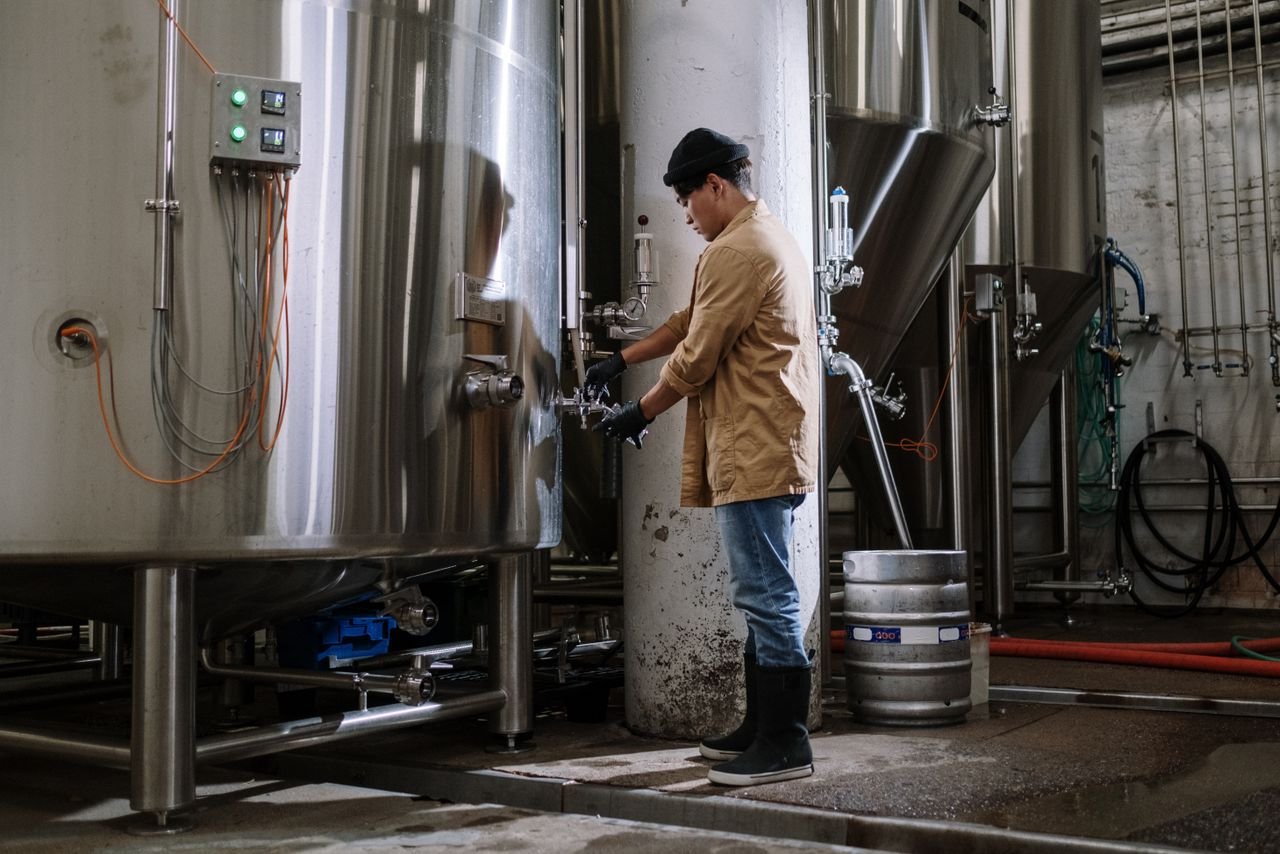
How Kegging Works
A kegging system replaces all those bottles with a single stainless steel vessel, typically a 5-gallon “Cornelius” (Corny) keg salvaged from the soft-drink industry. You transfer your finished beer into the keg, seal it, connect a CO₂ tank and regulator, and either slow-carbonate at 10–12 PSI over 1–2 weeks or burst-carbonate at 30–35 PSI over 24–48 hours. MoreBeer carries complete kegging starter kits that bundle keg, regulator, and gas line into a single purchase.
Basic kegging equipment:
- 5-gallon Corny keg (ball-lock or pin-lock)
- 5 lb CO₂ tank
- Single or dual regulator
- Gas and liquid hoses with appropriate fittings
- Picnic tap or dedicated draft tower
Setup costs run $200–$400 for a basic single-keg system; more if you want a dedicated fridge or a multiple-keg setup. For a complete breakdown of every piece of gear, see our kegging setup guide.
The Pros and Cons: Side by Side
| Factor | Bottling | Kegging |
|---|---|---|
| Upfront cost | $20–$50 | $200–$400 |
| Time to carbonate | 1–2 weeks | 1–3 days |
| Time to package a batch | 1.5–2 hours | 20–30 minutes |
| Portability | Excellent | Limited (keg is heavy) |
| Serving at a party | Easy, flexible | Easy with a tap |
| Storage space | Many bottles spread around | One keg in a fridge |
| Risk of overcarbonation | Yes (bottle bombs possible) | No (vented immediately) |
| Beer oxidation risk | Low if proper technique used | Very low — CO₂ purge protects |
| Cleaning per batch | 48+ bottles, caps, filler | One keg, two posts, two hoses |
The cleaning gap is the one that converts most brewers to kegging once they’ve done it both ways. Sanitizing 48 bottles is a chore that takes patience and a certain zen-like acceptance. Sanitizing one keg is a 10-minute job.
Carbonation: Natural vs Force Carbonation
Bottle conditioning produces natural carbonation with a fine, persistent bubble structure that many beer drinkers find more pleasant than force-carbonated beer — particularly in traditional British styles. CAMRA, the Campaign for Real Ale, specifically champions naturally conditioned cask and bottle-conditioned beers as the gold standard of traditional British brewing.
Force carbonation is faster, more predictable, and easier to adjust. If your beer isn’t carbonated enough after a week in the keg, you simply dial up the pressure. Over-carbonated? Bleed pressure and re-set. With bottles, over-carbonation is discovered at the worst possible moment (when a bottle bomb detonates at 2am) and under-carbonation means waiting another week.
The correct priming sugar amount for bottles depends on the beer style and the carbonation volumes target:
| Style | Volumes CO₂ | Corn sugar / 5 gal |
|---|---|---|
| English bitter / stout | 1.5–2.0 | 2.5–3.0 oz (71–85 g) |
| American Pale Ale / IPA | 2.2–2.5 | 3.5–4.0 oz (99–113 g) |
| Belgian saison / hefeweizen | 2.8–3.5 | 4.5–5.5 oz (128–156 g) |
Online priming calculators such as the one at Brewer’s Friend factor in residual CO₂ (which increases with colder conditioning temperatures) for greater precision.
Beer Quality and Shelf Life
Both methods produce excellent beer when done properly. The main quality variable is oxygen exposure:
- Bottling: Oxygen can enter during the siphoning and bottling process if technique is careless. Using a bottling wand, keeping hoses submerged, and minimizing splashing keeps oxygen pickup to acceptable levels.
- Kegging: Purging the keg with CO₂ before filling virtually eliminates oxygen, which is one reason kegged homebrews often taste cleaner and last longer. A well-purged keg of IPA stays fresh significantly longer than the same beer in bottles.
For hoppy, delicate beers like IPAs and hazy NEIPAs, kegging is strongly preferable for this reason. CraftBeer.com notes that hop aroma compounds degrade rapidly in the presence of oxygen, which is why properly kegged IPA retains its aromatics much longer than bottled equivalents.
Portability and Sharing
This is where bottles win clearly. A six-pack is easy to bring to a friend’s place, a festival, or a family gathering. A keg and a CO₂ tank are manageable for a party at home, but hauling the full setup to a picnic is a commitment.
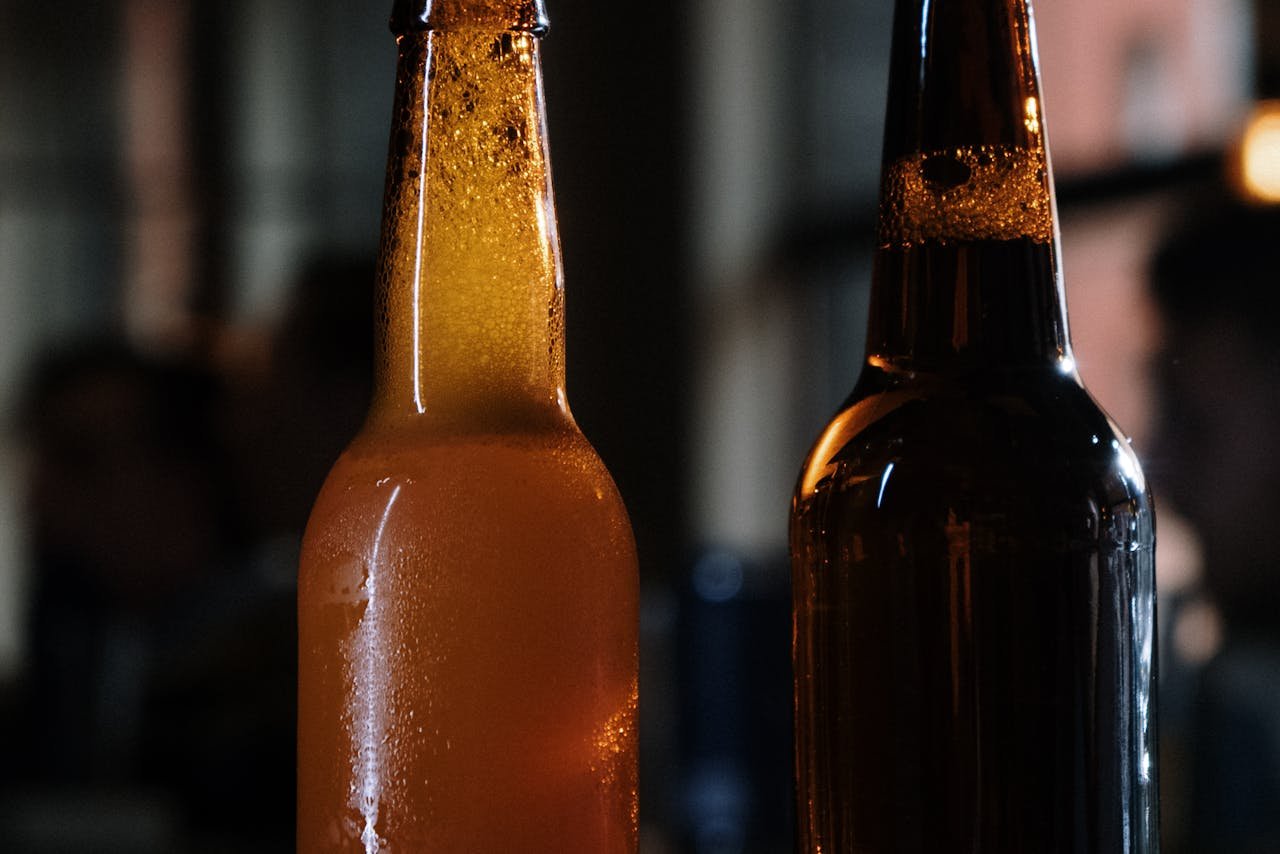
Swing-top bottles (“Grolsch-style”) are particularly convenient for short-term storage — no capper needed — though they’re better suited for beers consumed quickly rather than long-term conditioning. Northern Brewer stocks a range of bottle types, including swing-tops and standard 12 oz brown glass.
Which Should You Choose?
Bottle if:
- You’re a newer homebrewer keeping costs low
- You want to enter beer competitions — the American Homebrewers Association runs the National Homebrew Competition, where judges assess naturally conditioned bottled entries
- You want the portability of individual bottles
- You’re brewing British styles where natural conditioning is part of the tradition
Keg if:
- You brew regularly (more than once a month) and hate cleaning bottles
- Hop freshness is a priority (IPAs, NEIPAs, pale ales)
- You entertain at home and want a proper draft pour
- You’re ready to invest in a system that simplifies your brewing life significantly
Many homebrewers do both: keg most batches for daily consumption at home, and bottle a case or two when entering a competition or giving beer as gifts. You can browse community reviews of both bottled and kegged commercial examples on BeerAdvocate to calibrate your own quality targets.
The Brew Professor Takeaway
Kegging will probably win you over eventually — the time savings and quality improvements for certain styles are too good to ignore. But bottles are a perfectly fine home for great beer, and some styles are genuinely better for bottle conditioning. Start with bottles, master your fermentation process, then upgrade to kegging when the convenience becomes the priority. Either way, you’re packaging something you made from scratch. That’s the best part.