There’s nothing quite like pouring a homebrewed pale ale and watching it drop bright into the glass — gem-clear, golden, and inviting. Clarity isn’t just cosmetic. A clear beer often signals clean fermentation, proper protein management, and good cold conditioning. If your homebrew looks more like orange juice than a lager, these nine techniques will help you dial it in.
Understand Why Beer Gets Cloudy
Haze in homebrew has several causes, and knowing which one you’re dealing with shapes your solution. The main culprits are:
- Chill haze — proteins and tannins that precipitate only when cold; often clears as the glass warms
- Yeast haze — suspended yeast cells that haven’t settled; common in under-conditioned beer
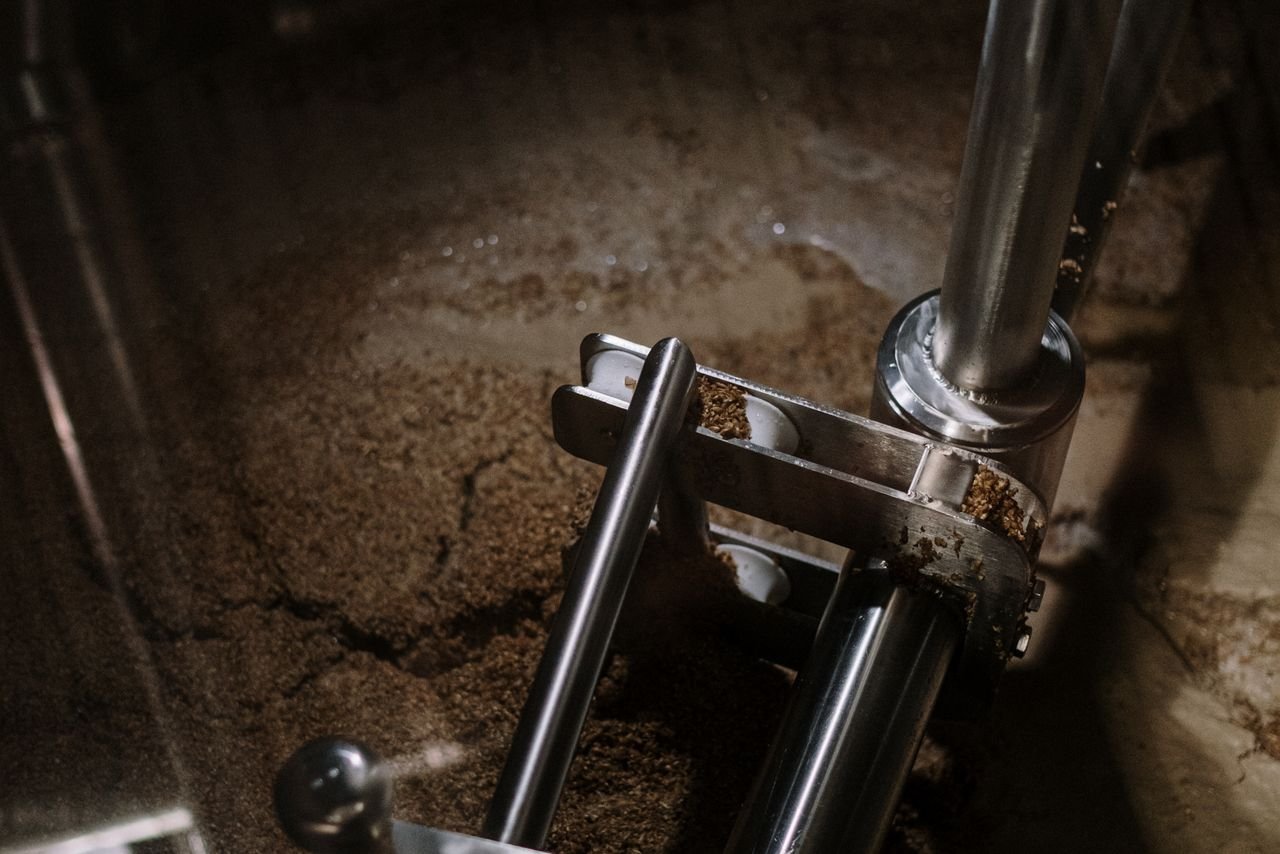
- Starch haze — unconverted starch from incomplete mashing
- Bacterial or wild yeast haze — a sign of infection; usually accompanied by off-flavors
- Hop haze — polyphenols from late hop additions or dry hopping; especially common in hazy IPAs (where it’s intentional)
Most homebrewers are fighting protein-yeast haze, which is entirely manageable with the right approach.
Tip 1 — Cold Crash Before Packaging
Cold crashing is the single highest-impact free upgrade you can make. After primary fermentation is complete, drop your fermenter to near-freezing — ideally 32–35°F (0–2°C) — for 48 to 72 hours. The cold causes yeast, proteins, and hop particles to clump together and fall out of suspension. Rack off the clear beer, leaving the sediment behind.
If you lack a temperature-controlled fermentation chamber, a spare fridge or a cold garage in winter works well. Even dropping to 40°F (4°C) for several days produces a noticeable improvement over room-temperature conditioning.
Tip 2 — Use Kettle Finings (Irish Moss or Whirlfloc)
Irish moss is a seaweed-derived fining added to the boil in the last 10–15 minutes. It carries a negative charge that attracts positively charged proteins, causing them to flocculate and drop to the bottom of the kettle rather than carry over into your fermenter. Whirlfloc tablets are a refined carrageenan product derived from Irish moss and work in the same way — use half a tablet or one teaspoon of Irish moss per 5-gallon batch. These are cheap, effective, and have no impact on flavor.
Tip 3 — Add Gelatin Finings After Fermentation
Gelatin is arguably the most powerful clarifying agent a homebrewer has access to. It’s used as a post-fermentation fining, typically after cold crashing. Dissolve one teaspoon of unflavored gelatin in 1/4 cup of water heated to 150°F (65°C) — hot enough to hydrate the gelatin without boiling it — and stir gently into your cold, fermenter-temperature beer. Allow 24–48 hours, and the positively charged gelatin molecules will drag yeast and proteins to the bottom. The result is often commercial-quality clarity.
Note: gelatin is an animal product, so it isn’t appropriate for vegan-friendly beers. Isinglass (from fish swim bladders) works similarly. For vegan alternatives, look at bentonite or silica gel.
Tip 4 — Try Biofine Clear (Silica Gel)
Biofine Clear is a food-grade colloidal silica solution popular in commercial brewing and increasingly available to homebrewers. It carries a negative charge and targets positively charged proteins and yeast, complementing gelatin (which does the reverse). The two can be used together — gelatin first, then Biofine 24 hours later — for exceptional clarity in pale lagers and pilsners. The Siebel Institute covers commercial clarification techniques if you want to go deep on the science.
Tip 5 — Nail Your Mash Temperature
Starch haze comes from incomplete conversion. According to How to Brew by John Palmer, most base malts convert fully between 148–158°F (64–70°C) with a 60-minute rest. Mashing below 148°F risks incomplete conversion; mashing above 162°F can denature the enzymes needed. Use a reliable thermometer — if you’re not already doing this, check out our guide to brewing thermometers and hydrometers.
Performing an iodine starch test at the end of your mash is a quick sanity check: a drop of iodine on a white plate should stay amber-brown if conversion is complete. If it turns black, give the mash another 15–20 minutes.

Tip 6 — Adjust Your Water Chemistry
Hard water high in calcium promotes clarity in two ways: calcium ions assist protein flocculation during the boil, and they lower mash pH toward the 5.2–5.4 sweet spot where enzymes operate most efficiently. A target of 50–150 ppm calcium (added as calcium sulfate or calcium chloride) is a practical starting point for most styles. Over-hopped beers and those brewed with very soft water often suffer from persistent haze that water chemistry can help address. Bru’n Water and other water adjustment tools are worth learning if you brew frequently.
Tip 7 — Choose High-Flocculating Yeast
Not all yeast strains clear the same way. Flocculation is the tendency of a yeast strain to clump and drop out of suspension, and it varies significantly. High-flocculating strains like English ale yeasts (Wyeast 1968, White Labs WLP002) are well-known for producing crystal-clear beer with minimal intervention. Low-flocculating strains — including many German hefeweizen and hazy IPA strains — are designed to stay in suspension and will resist all your clarification efforts anyway, which is often the point.
Checking the flocculation rating on yeast manufacturer datasheets (available from White Labs and Wyeast) helps you set realistic expectations before brew day.
Tip 8 — Allow Adequate Conditioning Time
Impatience is the enemy of clarity. Bottled beer that is still carbonating at room temperature is full of active yeast. Move bottles to a cold location once carbonation is complete (typically 1–2 weeks at 68–72°F / 20–22°C) and let them condition at 34–40°F (1–4°C) for at least one more week. Kegged beer benefits from a week of cold conditioning at serving pressure before tapping.
The BJCP Style Guidelines list appearance as a scored criterion in many categories, and “bright” is consistently rewarded in styles from German Helles to American lager.
Tip 9 — Minimize Oxygen and Agitation
Oxygen pickup during transfers doesn’t directly cause haze, but it causes oxidation that can generate polyphenols and permanently set haze that would otherwise clear. Keep transfers gentle, purge receiving vessels with CO₂ when possible, and avoid splashing at all stages post-fermentation. CraftBeer.com has a useful overview of how oxygen management pays dividends in beer quality broadly.
A Quick Reference: Finings Cheat Sheet
| Fining | When to Use | Charge | Removes |
|---|---|---|---|
| Irish Moss / Whirlfloc | Last 10–15 min of boil | Negative | Proteins |
| Gelatin | Post-fermentation (cold) | Positive | Yeast, proteins |
| Biofine Clear | Post-fermentation (cold) | Negative | Yeast, proteins |
| Isinglass | Post-fermentation | Positive | Yeast |
| Bentonite | Post-fermentation | Negative | Proteins, tannins |
The Brew Professor Takeaway
Improving beer clarity is a layered problem with layered solutions. Cold crashing and a kettle fining handle 80% of cases without any extra fuss. For stubborn haze, stack gelatin finings on top, dial in your mash temperature, and choose a high-flocculating yeast strain for styles where clarity matters. The effort is modest, and the payoff — a glass of homebrew that looks as good as it tastes — is absolutely worth it.