Partial mash brewing sits in the sweet spot between extract and all-grain: you get the flavor depth and recipe flexibility of mashing your own specialty grains, without needing a full mash tun, a huge kettle, or the extra hours that all-grain demands. If you’ve been brewing with malt extract for a while and you’re curious what lies beyond, a partial mash is exactly where to head next. The Brewers Association notes that small-scale experimental brewing at the homebrew level — including techniques like partial mash — is often where new commercial styles originate.
What Is Partial Mash Brewing?
In a partial mash (sometimes called mini-mash) brew, you mash a portion of your fermentables — typically base malt plus specialty grains — using the same enzymatic process as all-grain brewing, then supplement the remaining fermentables with dry or liquid malt extract (DME or LME). The mash portion might represent 30–60% of your total fermentables, with extract making up the rest.
The key difference from a simple steeping recipe is that partial mash recipes include a true base malt (like 2-row or Maris Otter) that contains the enzymes needed to convert the starches in adjunct grains into fermentable sugars. How to Brew by John Palmer explains that base malts must make up at least 20–30% of a grain bill for reliable conversion, though in practice partial mash grists often run higher.
For a detailed comparison of where partial mash fits in the brewing spectrum, see All-Grain vs Extract Brewing: Which Should You Choose?
Why Bother with a Partial Mash?
Straight steeping of specialty grains gives you color and some flavor, but you’re limited to grains that don’t require enzymatic conversion — crystal malts, roasted malts, and a handful of others. With a partial mash, you can use:
- Munich malt for rich bread and toasty flavors in ambers and bocks
- Vienna malt for soft malt sweetness in Märzen-style lagers
- Flaked oats or wheat for body and mouthfeel in stouts and hefeweizens
- Pilsner malt as the base for light lagers and Belgian ales
- Rye malt for spicy complexity in rye beers
This dramatically expands your recipe palette while keeping the equipment list short. Northern Brewer carries a wide selection of specialty malts — Munich, Vienna, flaked oats, and rye — suitable for partial mash additions.
Equipment You Need
The good news: you probably already have most of what you need.
- A 2–3 gallon (or larger) pot for the mash
- A grain bag (fine mesh, BIAB-style works well)
- A thermometer accurate to ±1°F (a digital probe is ideal)
- Your normal boil kettle
- A colander or sparge vessel for rinsing grain
You don’t need a dedicated mash tun. A well-insulated cooler or a pot wrapped in a towel holds mash temperature adequately for a 60-minute rest.
The Partial Mash Process, Step by Step
Step 1 — Prepare Your Grain
Mill your grain, or have it milled at your local homebrew shop. A proper crush exposes the starchy endosperm without shredding the husk into fine flour. If you’re uncertain about crush quality, look for mostly split kernels with intact hulls — powdery flour suggests over-milling and can cause astringency. The American Homebrewers Association notes that crush quality is one of the most overlooked variables in small-scale mashing.
Step 2 — Heat Strike Water
Calculate your strike water volume at roughly 1.25–1.5 quarts per pound of grain. Heat the water to your strike temperature — about 10–15°F above your target mash temperature to account for the grain’s heat absorption. For a standard single-infusion mash targeting 152°F (67°C), heat strike water to about 163–165°F (73–74°C).
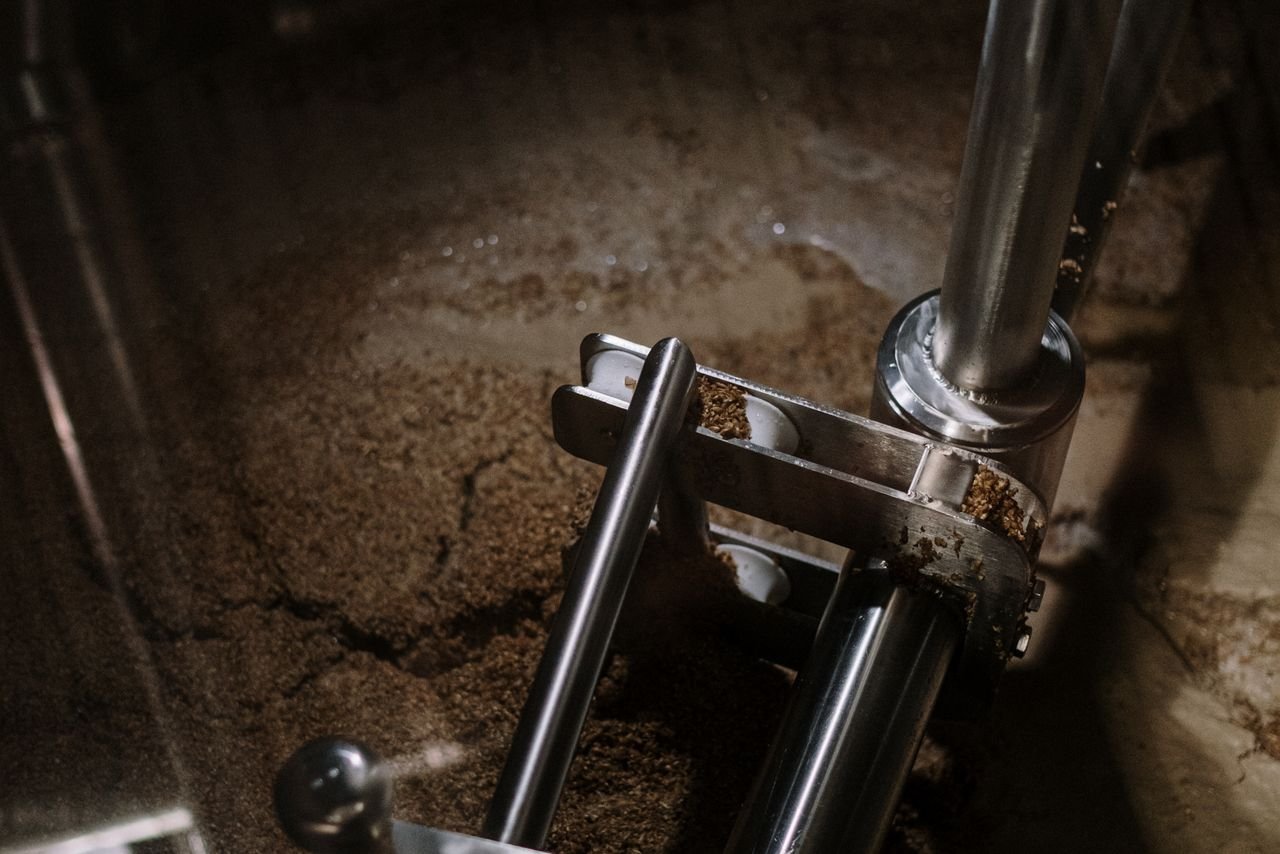
Step 3 — Mash
Add grain to your grain bag, lower it into the strike water, and stir well. Check temperature and adjust — add a splash of boiling water if too cool, cold water if too warm. Cover the pot and rest for 60 minutes at your target temperature:
| Target Mash Temp | Effect |
|---|---|
| 148–150°F (64–65°C) | Highly fermentable wort, dry finish |
| 152–154°F (67–68°C) | Balanced fermentability and body |
| 156–158°F (69–70°C) | Full body, more residual sweetness |
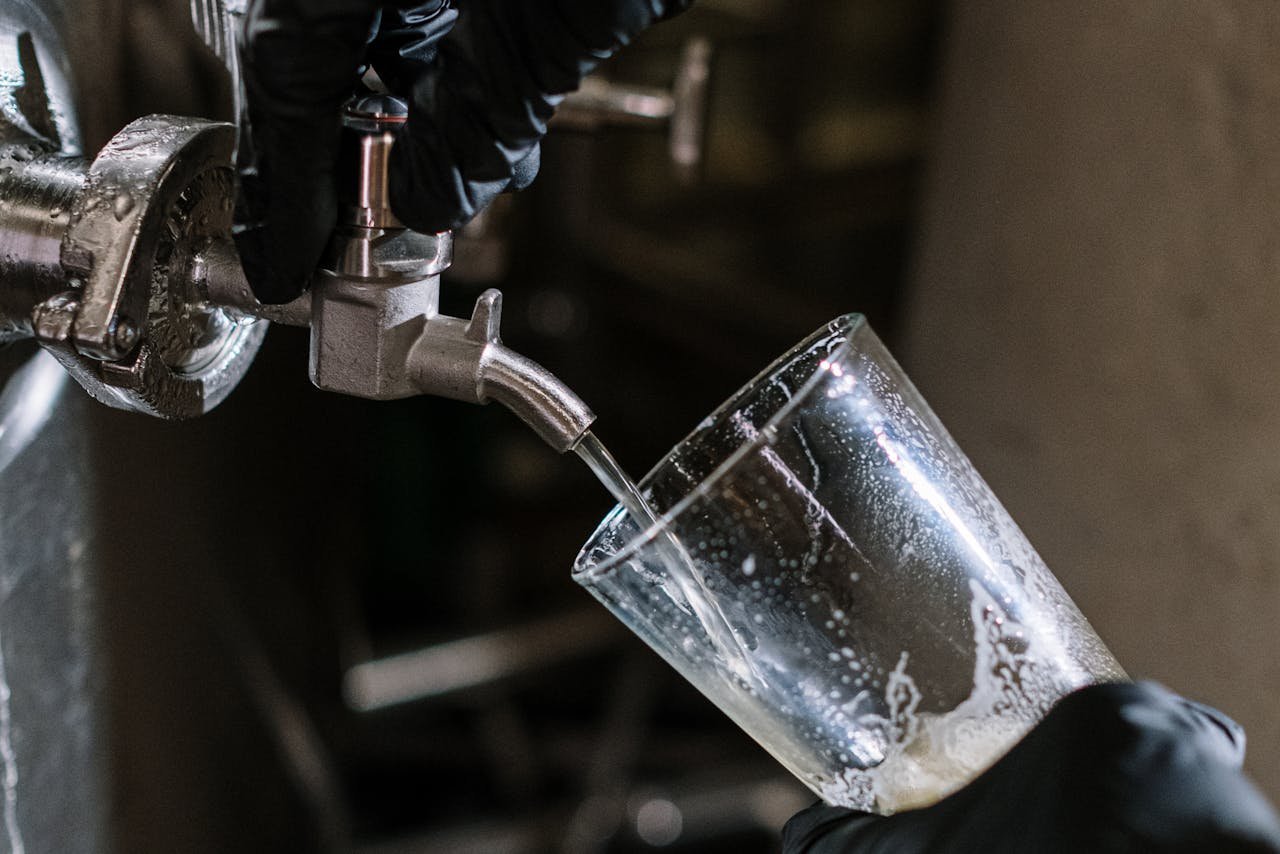
Step 4 — Sparge
Lift the grain bag and allow it to drain. Then pour 1–2 quarts of 168–170°F (76–77°C) hot water over the grain to rinse remaining sugars — this is called sparging, and it recovers wort you’d otherwise leave behind in the grain bed. Don’t squeeze the bag aggressively; gentle pressing is fine but excessive wringing can extract harsh tannins from the husks.
Step 5 — Combine and Boil
Add your mash wort to your boil kettle, then add your malt extract. If using LME (liquid malt extract), add most of it at the start of the boil and reserve a small portion to add in the last 10 minutes — this prevents the Maillard reactions that can darken the wort and add unwanted toasty flavors in pale beers. DME can go in all at once. Top up to your target pre-boil volume and proceed with your normal hop schedule.
Step 6 — Cool, Transfer, and Ferment
After the boil, chill your wort as quickly as possible — an immersion chiller works well, and the Siebel Institute notes that rapid cooling minimizes DMS production and reduces the risk of contamination. Pitch your yeast at your target fermentation temperature and ferment as usual.
Practical Tips for Your First Partial Mash
- Keep it simple — A 2–3 lb partial mash added to an otherwise extract recipe is plenty for your first attempt. You’ll notice the flavor difference without fighting a complex process.
- Temperature consistency matters — Check the temperature at 15 and 30 minutes into the mash and insulate well. A towel-wrapped pot loses only 1–2°F per hour if the ambient temperature is reasonable.
- Water volume accuracy — Your mash will absorb roughly 0.1–0.125 quarts of water per pound of grain. Account for this in your pre-boil volume calculation.
- Take notes — Partial mash recipes are easy to iterate. Record your mash temperature, volumes, and extract additions precisely, and you’ll hit your numbers more reliably with each batch. Free recipe builders like Brewer’s Friend support partial mash mode and calculate pre-boil gravity for you automatically.
The Brew Professor Takeaway
Partial mash brewing is one of the most rewarding steps you can take in your homebrewing progression. The setup is minimal, the learning curve is gentle, and the flavor payoff — being able to use true base malts and a far wider range of specialty grains — is immediate. Think of it as a comfortable step stool between extract and all-grain, one that many experienced brewers happily park on permanently. The BJCP Style Guidelines can help you identify which styles are most approachable and rewarding targets for your early partial mash batches. You don’t need to go all-grain to brew world-class beer.