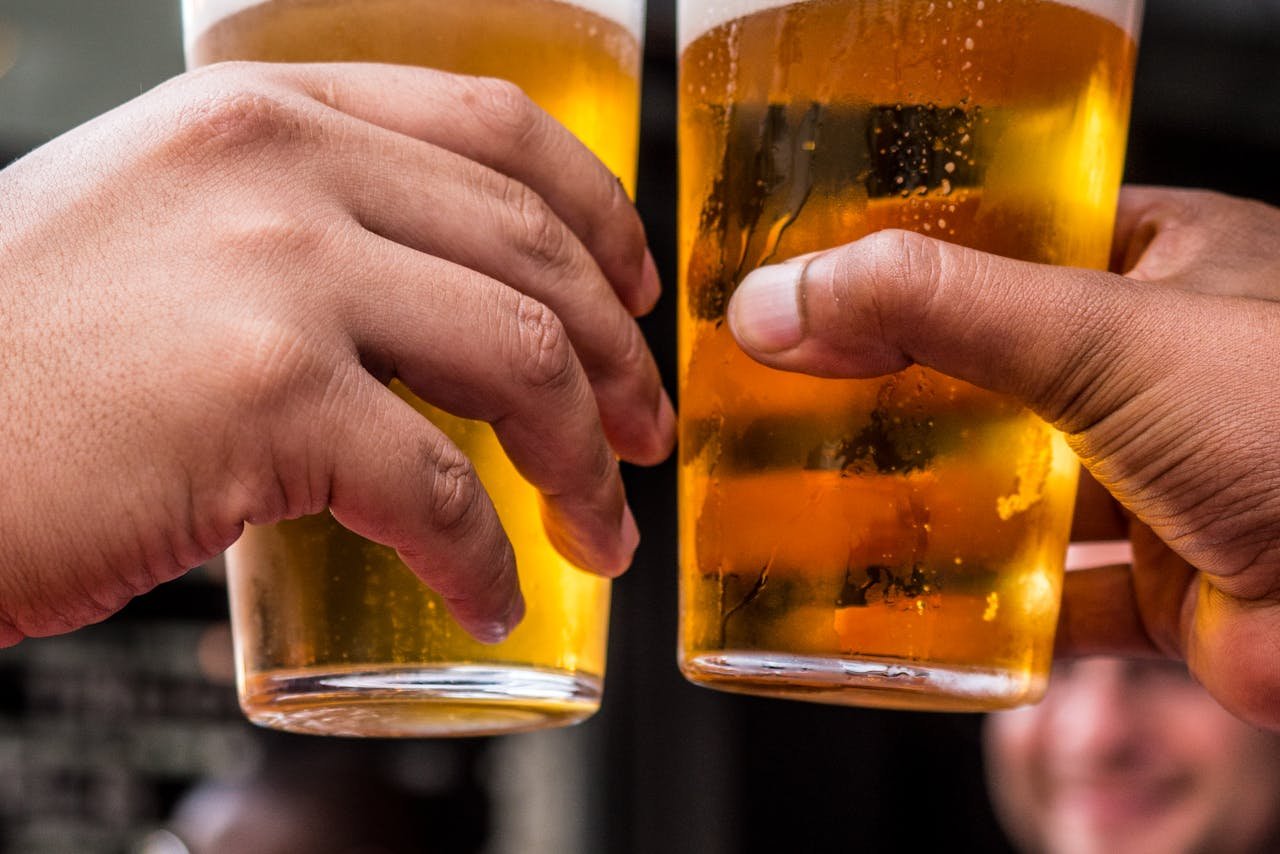
Pouring beer looks simple. Tilt glass, add beer, done. But there’s a reason why a pint poured well at a great bar tastes better than the same beer poured carelessly at home, and the difference isn’t in your head. Pouring technique affects head formation, carbonation levels, aroma release, and even how the beer looks in the glass. A few minutes understanding the mechanics will change every beer you drink.
Why the Pour Matters
Beer is a carbonated, aromatic beverage. Both of those properties depend on how you handle it. Carbon dioxide (CO₂) is dissolved in the beer under pressure; the pour controls how much of that gas comes out of solution and in what form. A proper pour nucleates small, uniform bubbles that rise to form a stable head — a foam collar that traps volatile aromatic compounds and releases them slowly as you drink.
A head isn’t cosmetic. It’s aromatic. Hop oils, esters, and other volatile compounds concentrate in the foam layer. CraftBeer.com notes that a well-formed head can meaningfully increase perceived hop and malt aroma versus a flat, headless pour. That’s why the BJCP Style Guidelines describe head characteristics for every style — color, height, retention — as a genuine quality attribute.
The Anatomy of a Good Pour
The perfect pour has three stages:
1. The Angle Pour (first half) Start with your clean, room-temperature glass (cold glasses contract foam — more on that shortly) held at 45 degrees. Pour steadily down the side of the tilted glass. This limits agitation, allowing CO₂ to stay in solution during the first phase of the pour. You’re building beer, not foam.
2. The Upright Pour (second half) When the glass is roughly half to two-thirds full, straighten it and pour the remaining beer directly down the center. This intentional agitation releases CO₂ and builds the foam head. Adjust distance — pouring from higher up creates more agitation and a taller, lighter head; pouring from closer keeps the head tighter and denser.
3. The Finish Aim for about one to one-and-a-half inches of head for most styles. For a German hefeweizen, you’re looking for a dense, pillowy two to three inches. For an English cask ale (served at low carbonation), a modest half-inch is appropriate. Stop pouring before foam overflows.
Temperature and Glassware
Glass temperature matters more than most people realize. A frosty frozen mug looks festive but it’s bad for most craft beers. The extreme cold:
- Causes beer to foam excessively (thermal shock)
- Suppresses aromas you paid for
- Quickly chills the beer below its optimal serving temperature
Use a clean, unchilled glass. If you want to cool the glass slightly without going to freezer temperatures, rinse it with cold water immediately before pouring. This also reduces static charges that cause excessive foaming from carbonation nucleating on dry glass surfaces.
Glassware shape matters too. A wider-mouthed tulip or pint glass allows more head to form and releases aromatics freely. A narrow-topped glass traps carbonation longer. Our beer glassware guide covers the full range — matching glass shape to style is another layer of getting the most from your pour.
Pouring Different Styles
The standard two-stage pour works for most beers, but different styles call for specific adjustments:
German Hefeweizen Before pouring, roll the bottle gently to rouse the yeast sediment (hefe = yeast, weizen = wheat — the cloudiness is intentional and desirable). Pour steadily, building a tall, dense foam. Some drinkers invert the last inch of the bottle into the head to collect all the yeast.
Belgian Ales (Tripel, Dubbel, Saison) These are highly carbonated. Use a large goblet or tulip. Pour down the side slowly at first to control the surge of foam from highly carbonated Belgian-style yeast. Leave ample room for a substantial head. The Belgian beer styles guide at Brew Professor goes into the full tradition.
Stout (Nitrogenated, Draught) A nitro stout like Guinness has its own iconic pour, as Guinness themselves describe. Pour at 45 degrees until the glass is three-quarters full, let it settle until the cascade completes (about 90 seconds for a true cascade effect), then top it up flat to form a domed head.
Cask Ale Cask ales from a hand pump or gravity tap are lightly carbonated and served at cellar temperature (50–55°F / 10–13°C). Pour directly without a tilt — just pull the tap or open the spigot. These beers naturally form a very modest head and that’s correct. CAMRA is the definitive authority on proper cask ale service.
Heady Craft IPAs Modern hazy IPAs are often over-carbonated by design to create that pillowy mouthfeel. Use an angled pour all the way through, being gentle, to avoid an explosive head. These beers also benefit from room-temperature glassware to release their tropical hop aromatics.
Common Pouring Mistakes
| Mistake | What Happens | Fix |
|---|---|---|
| Frozen glass | Excessive foam, suppressed aroma | Use clean, unchilled glass; rinse with cold water |
| Pouring too fast | Too much foam, beer loss | Control pour speed; two-stage method |
| Pouring straight down from start | Massive unstable foam | Begin tilted at 45 degrees |
| Pouring into dirty glass | ”Beer lacing” breaks down; flat head | Wash glasses without fabric softener; no dishwasher residue |
| Not leaving headspace | No room for head; aroma lost | Fill to three-quarters, then add the head |
A dirty or residue-coated glass is one of the most overlooked enemies of a good pour. Detergent residues, especially those containing fats or softeners, destroy foam on contact. Beer pubs that take their craft seriously use dedicated glassware-specific cleaning products and rinse-only sanitizing. At home, wash beer glasses by hand with unscented dish soap and rinse thoroughly.
Pouring from a Can vs. a Bottle
The physics are the same, but cans are often more carbonated than bottles due to differences in packaging. They’re also completely light-protected, which means the beer inside is fresher (no skunking risk). For cans, the same two-stage pour applies — don’t drink straight from the can for anything you want to actually taste. You lose 80% of the aroma experience by bypassing your nose entirely.
For bottles with sediment (bottle-conditioned ales, hefeweizens), decide whether you want the yeast: if yes, rouse it first; if not, pour carefully, leaving the last half-inch of sediment in the bottle. BeerAdvocate tasting notes often specify whether reviewers included the yeast, as it noticeably affects flavor and cloudiness.
The Science of Head Retention
Good head retention depends on:
- Proteins from malt (gives foam structure)
- Isomerized alpha acids from hops (stabilizes foam against fat contamination)
- Clean glassware (lipids destroy foam on contact)
- Serving temperature (too cold = excessive CO₂ nucleation; too warm = CO₂ escapes quickly)
If you’re finding your homebrewed beers have poor head retention, it’s often a sign of insufficient malt proteins (over-adjunct recipes) or cleaning residue on glassware. The Brewers Association technical resources have detailed guidance on foam-positive brewing practices.
The Brew Professor Takeaway
The perfect pour is part technique, part ritual, and entirely worth the thirty extra seconds it takes. You’ve already paid for good beer — slow down enough to serve it properly. Tilt the glass, pour with intention, aim for an inch of stable foam, and drink it while the head is still intact. For tracking which beers you’d pour again, Untappd lets you log tasting notes on the spot. Your nose will thank you, and so will your taste buds.