Beer is one of humanity’s oldest manufactured beverages — archaeologists have traced it back more than 5,000 years to ancient Mesopotamia — and yet the fundamental process has barely changed. Grain, water, hops, yeast: crush, mash, boil, ferment, package. Understanding each stage not only makes you a better brewer, it makes every pint you drink taste better too. Here is the entire process, from raw grain to finished glass.
Stage 1: Milling the Grain
For all-grain brewers, the process begins before water even touches the malt. Malted barley must be milled — crushed — to expose the starchy interior of the kernel while leaving the husk relatively intact. The husk serves as a natural filter bed during the lautering step; destroy it and you’ll have a stuck mash.
Ideal crush: hulls slightly torn open, endosperm broken into small pieces, minimal flour. A two-roller grain mill adjusted to about 0.045–0.055 inches between rollers is a good starting point. Pre-milled grain from a homebrew shop works fine but loses freshness faster than whole grain — use it within a week or two.
Extract brewers skip this step entirely: milling and mashing was done at the maltster’s facility before the extract was made.
Stage 2: Mashing
The mash is where the magic of starch conversion happens. You combine crushed grain with hot water (the “strike water”) in a mash tun, maintaining a target temperature for 60 minutes. Enzymes naturally present in the malt — primarily alpha-amylase and beta-amylase — break down long starch chains into fermentable sugars.
Key mash temperatures and their effects:
| Temperature | Effect |
|---|---|
| 145–149°F (63–65°C) | Highly fermentable wort; dry, thin body |
| 150–154°F (65–68°C) | Balanced fermentability; medium body |
| 155–158°F (68–70°C) | Less fermentable; fuller, sweeter body |
A standard single-infusion mash at 152°F (67°C) is the workhorse for most ale styles. After 60 minutes, most of the starch has converted to sugar. A quick iodine test (a drop of wort on iodine — no color change means conversion is complete) confirms you’re ready to proceed.
The Siebel Institute teaches multi-step mashes for styles that historically demanded decoction, but a simple single-infusion mash produces excellent results for the vast majority of homebrew recipes.
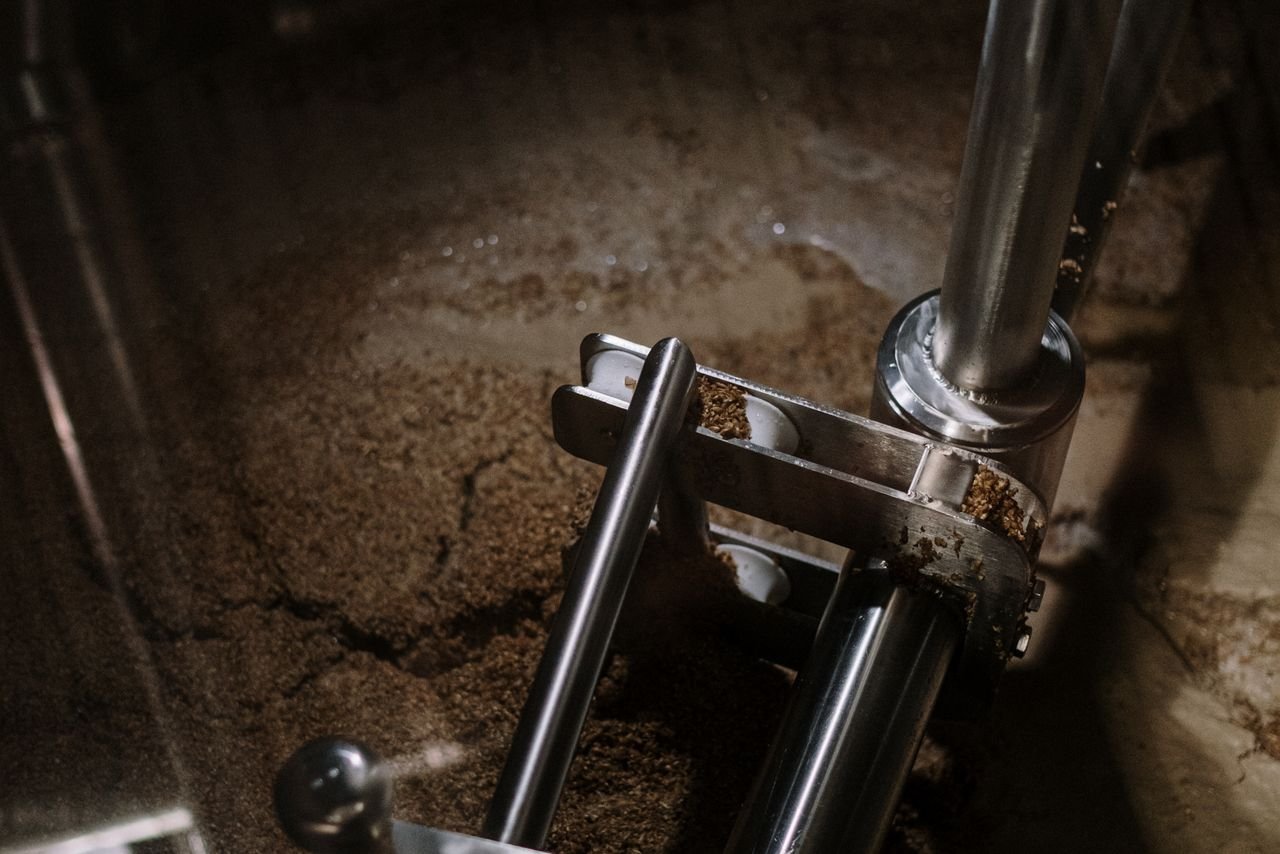
Stage 3: Lautering and Sparging
After mashing, you need to separate the sweet wort from the spent grain. In a traditional three-vessel setup, the mash is transferred to a lauter tun where the grain bed acts as a natural filter. You then rinse the grain with additional hot water (168°F / 75°C) — this is sparging — to wash out the remaining sugars.
Batch sparging (adding all the sparge water at once) is simpler and loses only 1–2% efficiency versus fly sparging (slowly trickling water over the grain). BIAB brewers simply lift the grain bag and allow it to drain, squeezing gently to recover wort.
First runnings from the lauter tun are typically 1.070–1.090 gravity; combined and diluted with sparge water, you aim for a pre-boil gravity that, after boiling off 1–1.5 gallons of water, hits your target original gravity.
Stage 4: The Boil
The wort boil serves several functions simultaneously: sterilization, hop utilization, protein coagulation, and evaporation of undesirable volatile compounds like DMS (dimethyl sulfide, which causes a cooked-corn flavor).
A 60-minute rolling boil is standard. Hops are added at specific intervals:
- 60 minutes: Bittering hops — isomerization of alpha acids produces IBUs
- 15–30 minutes: Flavor hops — some aroma, mostly flavor compounds
- 0–5 minutes / flameout: Aroma hops — volatile aromatics preserved by minimal heat exposure
At the end of the boil, whirlpooling (stirring the wort in a circular motion) causes hop debris and coagulated proteins (trub) to collect in a cone at the center of the kettle, making it easier to transfer clear wort to the fermenter. CraftBeer.com has a useful visual guide to the boil and whirlpool process for brewers encountering it for the first time.
John Palmer’s How to Brew covers boil chemistry — including DMS precursors, Maillard reactions, and hop utilization equations — in more technical depth than any other free homebrewing resource.
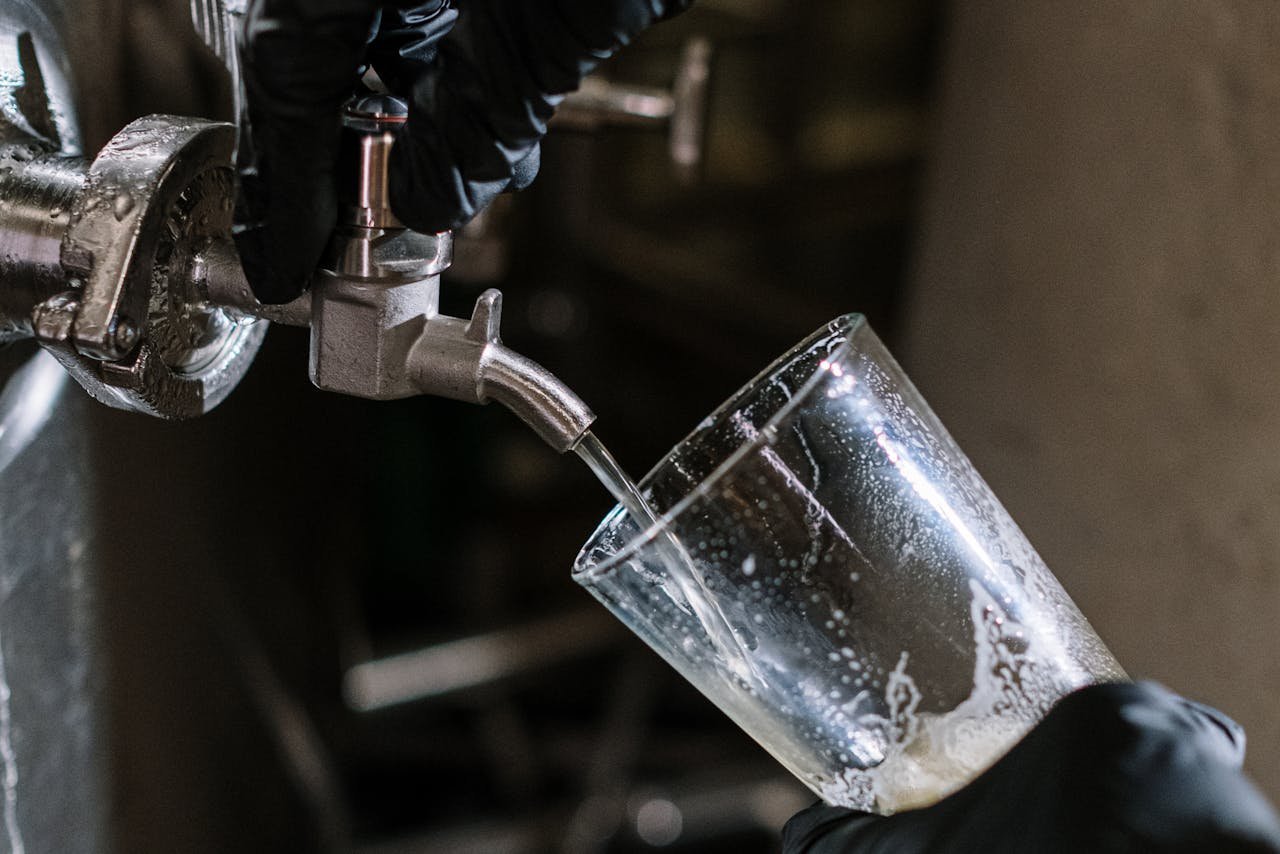
Stage 5: Chilling the Wort
Fast chilling is not optional — it is critical. Hot wort sitting exposed to air for more than 30 minutes risks contamination and a condition called “hot-side aeration,” which produces stale, cardboard-like flavors. More importantly, fast cooling causes a “cold break” where proteins and polyphenols flocculate out of solution, producing clearer beer.
Target: cool wort from boiling (212°F / 100°C) to pitching temperature (65–70°F / 18–21°C for most ales; 50–55°F / 10–13°C for lagers) as fast as possible.
Methods in order of speed:
- Counterflow or plate chiller (fastest — 5–10 minutes)
- Immersion chiller (copper or stainless coil submerged in wort — 20–30 minutes)
- Ice bath (slow — 45–60 minutes, but works for starter setups)
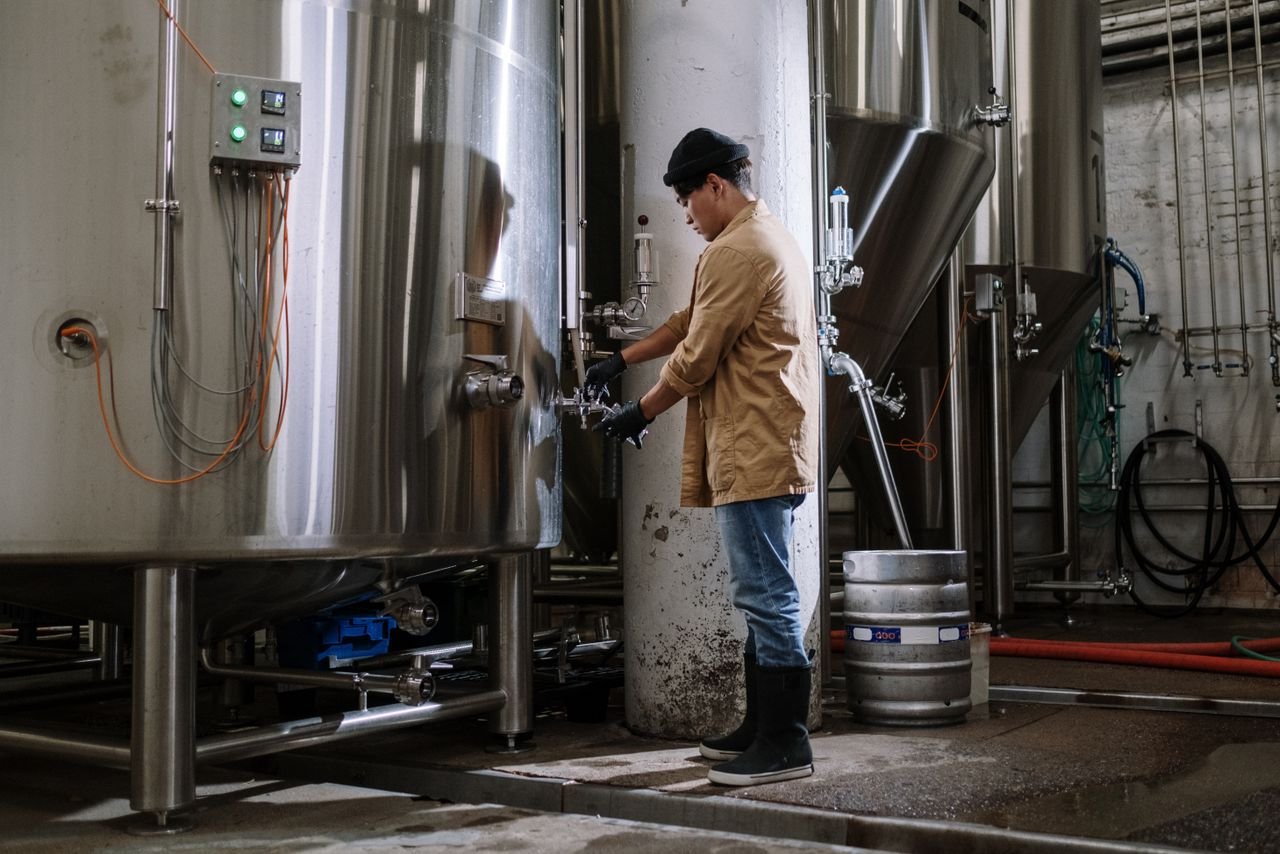
Stage 6: Fermentation
Once chilled, wort is transferred to a sanitized fermenter, aerated by shaking or rocking, and inoculated with yeast. Fermentation temperature control is arguably the most impactful variable in homebrewing — off by 10°F in the wrong direction and your clean American Pale Ale develops harsh fusel alcohols or the buttery slickness of diacetyl.
Ale fermentation is typically complete in 1–2 weeks at 65–72°F (18–22°C). Lager fermentation runs at 50–55°F (10–13°C) for 2–4 weeks, followed by a cold conditioning (“lagering”) period at near-freezing temperatures for several more weeks.
The American Homebrewers Association has published research showing fermentation temperature as the single biggest driver of flavor quality in homebrewed beer, above even ingredient quality.
Stage 7: Conditioning and Clarification
After primary fermentation, most homebrewers let the beer condition for an additional 3–7 days at fermentation temperature (allowing the yeast to reabsorb diacetyl and acetaldehyde) before chilling.
Cold crashing — dropping the fermenter temperature to near-freezing (33–38°F / 1–3°C) for 24–72 hours — causes yeast and proteins to fall out of suspension, dramatically improving clarity before packaging. Finings like gelatin or Irish moss can accelerate this process.
The BJCP Style Guidelines specify appearance ranges for every recognized style — from “brilliant” Kölsch to “hazy” New England IPA — so clarity expectations vary by what you’re brewing.
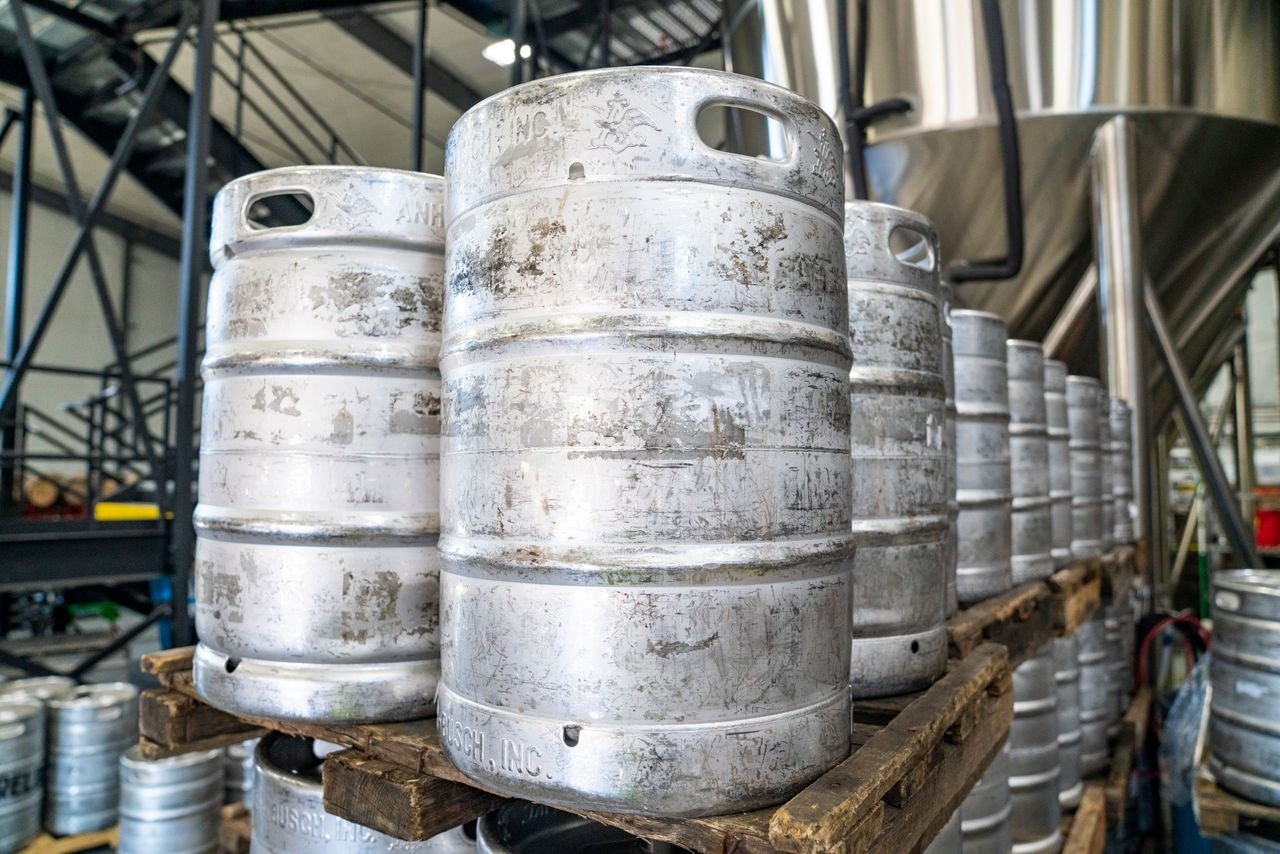
Stage 8: Packaging
The final stage is getting the beer into its vessel. Options:
- Bottles: Add priming sugar, cap, and bottle condition at room temperature for 2 weeks. Natural carbonation, no extra equipment.
- Kegs: Force-carbonate with CO₂ at 10–14 PSI at 38°F (3°C) for 3–5 days, or “burst carbonate” at higher pressure for faster results.
- Casks: Traditional British real ale conditioning, where the beer undergoes secondary fermentation in the cask itself. CAMRA is the authority on real ale and cask conditioning technique.
For more on the bottles-vs-kegs decision, see our guide on bottling vs kegging your homebrew.
The Brew Professor Takeaway
Every stage of the brewing process exists for a reason — each one either creates flavor, preserves it, or removes something that would detract from it. Understanding why you do each step transforms following a recipe into actually brewing. Once you know what mash temperature does to body, what boil time does to bitterness, and what fermentation temperature does to yeast character, you stop guessing and start designing. That’s when homebrewing becomes genuinely creative.