Milling your own grain is one of those upgrades that homebrewers often put off — your local homebrew shop mills grain for free, after all — but once you try it, you’ll wonder why you waited. Freshly milled grain brews measurably better than grain crushed days earlier, and having your own mill gives you complete control over crush gap, which directly affects your mash efficiency. Here’s what you need to know.
Why Fresh Milling Matters
The moment grain is crushed, the exposed starchy endosperm begins to absorb atmospheric moisture and oxidize. Within a day or two, staling begins. Homebrew shop mills serve many customers and may not be cleaned or maintained perfectly between uses — your freshly milled grain from last Thursday might be subtly staler than it could be.
More practically: you control the crush. Efficiency in an all-grain mash is highly sensitive to how finely the grain is crushed. A consistent gap setting dialed in for your specific system can improve mash efficiency by 5–10 percentage points, which means more sugars extracted from the same amount of grain — directly affecting the ABV and cost per batch.
The American Homebrewers Association has noted that grain freshness and crush consistency are two of the biggest variables separating good homebrew from great homebrew at the all-grain stage. The BJCP judges routinely identify efficiency and attenuation issues in competition — problems that often trace back to an inconsistent crush.
Two-Roller vs Three-Roller Mills
The vast majority of homebrew grain mills use one of two designs:
Two-roller mills pass grain through a single pair of rollers set to a specific gap. They’re simple, durable, and produce an excellent crush for most homebrewers. The gap is adjustable, usually by a knob or set screw on the roller shaft. Two-roller mills dominate the homebrew market for good reason: they’re reliable and easy to maintain.
Three-roller mills use three rollers in a triangular arrangement, effectively crushing the grain twice — once between the top and middle roller, again between the middle and bottom. The result is a more uniform crush with fewer uncrushed kernels. For BIAB brewers or those running a fine crush without a stuck sparge, three-roller mills can be worth the extra cost.
Six-roller mills are commercial grade, found in production breweries. They’re overkill for homebrewing and very expensive.
Crush Gap: The Most Important Setting
The distance between the rollers — the “gap” — determines how finely your grain is crushed. Get it wrong in either direction and you lose efficiency or create problems:
- Too wide: Grain kernels pass through mostly whole or lightly cracked. Enzymes in the mash can’t fully access the starchy endosperm. Efficiency suffers badly — you might get 60% where 75%+ is achievable.
- Too narrow (fine crush): The husks are shredded rather than just cracked. Destroyed husks can compact the grain bed and cause a stuck sparge — the worst outcome in a batch sparging or fly sparging all-grain brew. This is less of an issue for BIAB since there’s no sparge.
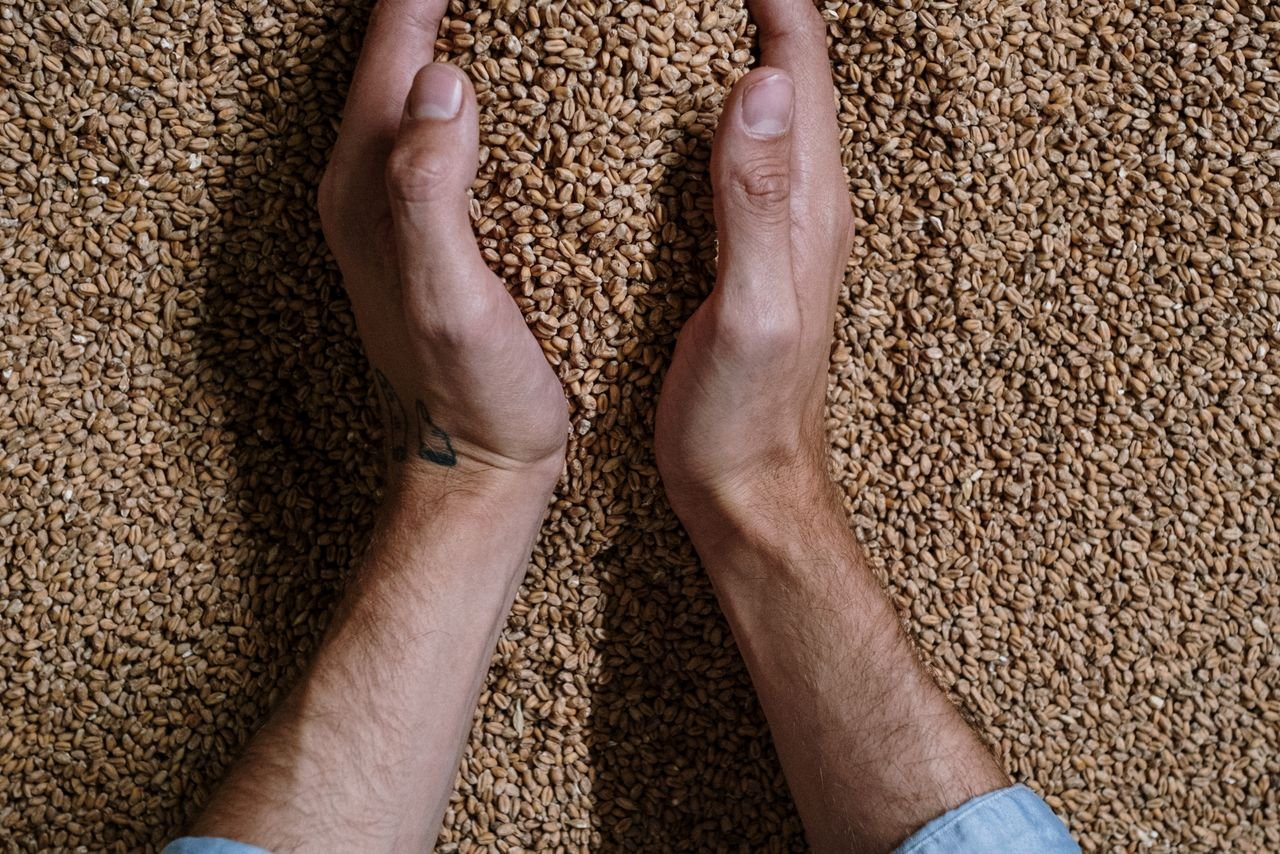
The ideal crush: husks remain largely intact (they form the filter bed in a traditional lauter tun), while the endosperm is well-shattered into fine “flour” and coarse particles. Hold a handful of freshly milled grain up to the light — you should see whole golden husk pieces mixed with white powdery endosperm and some coarser chunks.
Starting gap settings by mill: most two-roller mills work well in the range of 0.039”–0.045” (1.0–1.15 mm). John Palmer’s How to Brew recommends starting at 0.040” and adjusting based on your actual efficiency results.

Types of Malt and How They Mill
Not all grains are equal in the mill:
- Base malts (pale, pilsner, Munich): Mill beautifully at standard settings. These make up 80–100% of most grain bills.
- Crystal/caramel malts: Harder husks, slightly higher moisture content. Usually fine at the same gap as base malt.
- Roasted malts (black patent, chocolate): Very hard and brittle. They can mill differently than pale malts; some brewers slightly widen the gap for roasted grains.
- Wheat malt: No husk, so it mills differently. Too fine a crush on wheat can create a gummy mash — increase your rice hull additions if you’re sparging a high-wheat recipe.
- Adjunct grains (oats, rye, rice): Oats and rye can be problematic in sparging systems because they don’t have a filtration-quality husk. Rice hulls are commonly added to improve lautering. Refer to Understanding Malt: The Soul of Beer for more on how different malts behave in the mash.
Manual vs Motorized Mills
Manual (hand-crank) mills are the entry point. A good quality hand-crank mill will take 5–10 minutes to mill a 10 lb grain bill. It’s good exercise, but it gets old fast at 15+ lb bills. They’re perfectly adequate if you brew small batches occasionally.
Motorized mills use a drill or a dedicated motor to turn one roller, which drives the second through gears or friction. A cordless drill with a socket adapter is the most popular homebrew solution — it costs nothing extra (if you own a drill), reduces milling time to 2–3 minutes, and gives consistent roller speed. Use a variable-speed drill and go slow enough to avoid over-stressing the roller shaft. CraftBeer.com has featured several articles on small-scale milling setups that are worth scanning before you build out your station.
Dedicated motorized mill setups (with a DC motor mounted permanently to the mill) are available from several manufacturers and are worth considering if you mill every week. Roller speed matters: faster isn’t always better — running rollers too fast can heat the grain and cause it to mill inconsistently.
Top Mill Features to Consider
| Feature | Why It Matters |
|---|---|
| Stainless or hardened steel rollers | Durability; cheap zinc rollers wear fast |
| Adjustable gap (with set screw) | Precise, repeatable crush settings |
| Hopper size | Large hoppers (5+ lb capacity) reduce refilling time |
| Drill attachment | Saves serious time on larger grain bills |
| Knurling pattern on rollers | Deeper knurling grips grain better |
Mounting Your Mill
A mill mounted directly over your mash tun or over a bucket that sits in the tun is the most efficient setup. Most mills include mounting holes for screwing down to a board or directly to a bucket lid. A well-mounted mill stays stable while grinding and lets you mill directly into the vessel, which reduces grain transfer and potential oxygen pickup.
The Siebel Institute trains brewers on the relationship between grist quality and extract yield — even at homebrew scale, this matters. A purpose-built milling station pays dividends in brew-day efficiency and brew-day enjoyment.
Should You Buy a Mill?
If you brew all-grain more than twice a year, the answer is almost certainly yes. A quality two-roller mill runs $70–160 and will improve your efficiency, reduce reliance on shop milling schedules, and let you store un-milled grain far longer (whole grain keeps 6+ months in a cool, dry place versus a few days crushed). The Brewers Association notes that grain storage and freshness management are critical in commercial brewing — the same logic applies at home.
If you’re still extract brewing, hold off — milling grain isn’t relevant until you’re working with whole grain bills. But the moment you commit to all-grain, a mill belongs in your brewery. BeerAdvocate homebrewing forums have long threads comparing specific mill models — a great resource before spending $100+ on a roller mill you haven’t handled in person.
The Brew Professor Takeaway
A grain mill is the equipment upgrade that most directly rewards the all-grain homebrewer: better efficiency, fresher grain, and full control over crush consistency. Start with a two-roller mill with adjustable gap, mount it above your mash tun, and spend a few batches dialing in your gap setting. Once your efficiency climbs into the 75–80% range and you’re milling right before dough-in, you’ll understand exactly why this tool belongs on your brewing bench.