Walking into a homebrew shop for the first time can feel like stepping into a hardware store where everything is vaguely beer-shaped. There is a lot of gear out there, and plenty of it is marketed as essential when it decidedly is not. The good news: you can brew excellent beer with a surprisingly short list of equipment, most of which costs less than a dinner out. This guide cuts through the noise and tells you exactly what to buy, what to skip for now, and what you might want to add as you grow.
The Core Four: What You Truly Cannot Skip
Every homebrewing setup, no matter how basic, needs these four things. Compromise here and you will compromise your beer.
A brew kettle. This is where you boil your wort. For extract brewing a 5-gallon kettle works, but a 7–8 gallon kettle is smarter — it prevents boilovers and gives you room to scale up later. Stainless steel is the material of choice; it cleans easily, lasts forever, and does not affect flavor. The American Homebrewers Association recommends starting with at least a 5-gallon pot for beginner batches.
A fermenter. You need a vessel in which yeast can do its work undisturbed. Plastic buckets with lids are the classic beginner option — affordable, easy to handle, and simple to clean. More on fermenter types in the Choosing a Fermenter guide.
An airlock and stopper. This small device sits in the lid of your fermenter and lets CO2 escape without letting oxygen or wild bacteria in. It costs about a dollar and is utterly non-negotiable.
A sanitizer. Everything that touches your wort after the boil must be sanitized. Star San is the industry standard: it is a no-rinse acid sanitizer that kills unwanted microorganisms on contact. A small bottle makes gallons of sanitizing solution. Without rigorous sanitation, even perfect brewing technique produces infected, drain-pour beer.
Measuring and Monitoring Tools
Brewing is essentially applied chemistry, and a few cheap instruments make the difference between guessing and knowing.
Thermometer. You need to know your wort temperature when pitching yeast — pitch too hot and you stress the yeast; pitch too cold and fermentation stalls. A simple digital probe thermometer accurate to ±1°F is enough. Some brewers use an instant-read meat thermometer they already own.
Hydrometer. This glass instrument measures the specific gravity of your wort, which tells you how much fermentable sugar is present. Take a reading before fermentation (original gravity) and after (final gravity) and you can calculate your beer’s ABV. The How to Brew resource by John Palmer walks through hydrometer use in detail and is genuinely the best free brewing reference on the internet.
Measuring cups and a kitchen scale. Weight measurements for grain and hops are more accurate than volume. A basic kitchen scale that reads in grams is ideal. For liquid additions, a set of measuring cups works fine.
Transfer and Packaging Gear
Once fermentation is complete, you need to move your beer and get it into a package.
Auto-siphon and tubing. Beer needs to be transferred gently, without splashing (which introduces oxygen) and ideally without picking up sediment from the bottom of the fermenter. An auto-siphon — a rigid tube with a pump mechanism — makes this clean and easy. The BJCP style guidelines reference clarity as a key judging criterion in most styles, and clean, splash-free transfers are a big part of achieving it.
Bottle capper and caps. If you are bottling your first batches, a basic wing-style capper handles standard crown-cap bottles. Buy a hundred caps at a time; they are cheap. Collect longneck bottles from commercial beers as you go — they work perfectly. BeerAdvocate community threads have useful advice on which bottle styles hold up best for conditioning.
Bottles or a keg. Fifty 12 oz bottles handle a standard 5-gallon batch. If you jump straight to kegging, you will also need a CO2 tank, regulator, and draft lines — a bigger initial investment, but one that saves enormous time on packaging day.
The Workbench Setup: Helpful but Optional at the Start
These items improve your brewing life without being day-one essentials.
Wort chiller. After the boil you need to cool your wort quickly to pitching temperature — typically 65–70°F for ales. You can do this with an ice bath (slow, takes a big cooler of ice), or with an immersion wort chiller that connects to your tap and drops the temperature in 15–20 minutes. Not essential for your very first batch, but worth owning by batch three.
Refractometer. Faster than a hydrometer for mid-boil gravity checks — just a drop of wort on the prism and you get a reading in seconds. Less accurate after fermentation begins (alcohol throws off the reading), so most brewers use both tools.
pH meter or strips. Water chemistry matters more as your brewing develops. A basic pH strip set (or a digital meter for accuracy) helps you dial in mash pH for all-grain brewing. Beginners on extract kits can hold off on this one.
Bottle brush and jet-bottle washer. Cleaning bottles by hand is tedious. A jet-bottle washer that attaches to your faucet blasts hot water into each bottle in seconds. Not glamorous, not expensive, completely worth it.
What You Can Skip for Now
The homebrewing industry happily sells you things you do not need as a beginner. Here is what to put off:
- Stir plates — useful when making liquid yeast starters, but completely irrelevant on your first few batches if you use dry yeast
- Conical fermenters — excellent equipment, but a $30 bucket makes equally good beer for a beginner
- Grain mills — only needed if you buy whole grain; most homebrew shops will mill grain for you at no charge
- CO2 systems — unless you are committed to kegging from day one, start with bottles
- Brewing software subscriptions — free tools like the CraftBeer.com recipe database and Brewer’s Friend handle everything a beginner needs
Starter Kit vs. Building Your Own List
Pre-assembled starter kits are genuinely convenient. They bundle most of the essentials in one box, often at a slight discount, and remove the paralysis of choosing individual items. The main trade-off is flexibility — you are stuck with the quality level the kit manufacturer chose. Look for kits that include a quality fermenter, auto-siphon, hydrometer, airlock, and sanitizer. The Brewers Association notes that homebrewing continues to grow as a hobby precisely because the barrier to entry is low — a good starter kit runs $60–120 and everything else you need for your first batch (except ingredients) is likely already in your kitchen.
Building your own list item by item costs about the same and lets you prioritize quality on the pieces that matter most, like the kettle and fermenter.
A Quick Checklist
| Item | Beginner Priority | Approximate Cost |
|---|---|---|
| 7–8 gallon brew kettle | Essential | $40–80 |
| 6.5-gallon fermenter (bucket) | Essential | $10–20 |
| Airlock + stopper | Essential | $2 |
| Star San sanitizer | Essential | $10 |
| Digital thermometer | Essential | $10–20 |
| Hydrometer + test tube | Essential | $8–15 |
| Auto-siphon + tubing | Essential | $15–20 |
| Wing capper + caps | Essential (if bottling) | $15–25 |
| Wort chiller | Recommended (batch 2+) | $35–60 |
| pH strips | Optional | $10 |
The Brew Professor Takeaway
You do not need a room full of stainless steel to brew great beer. The essentials fit in a cardboard box, cost less than $150 in total, and can produce genuinely excellent results your very first time. Start lean, understand why each piece of equipment does what it does — the Siebel Institute has been teaching professional brewers this principle since 1872 — and add tools as genuine needs arise rather than as gear-acquisition syndrome demands. Your best brewing investment is practice, not equipment.
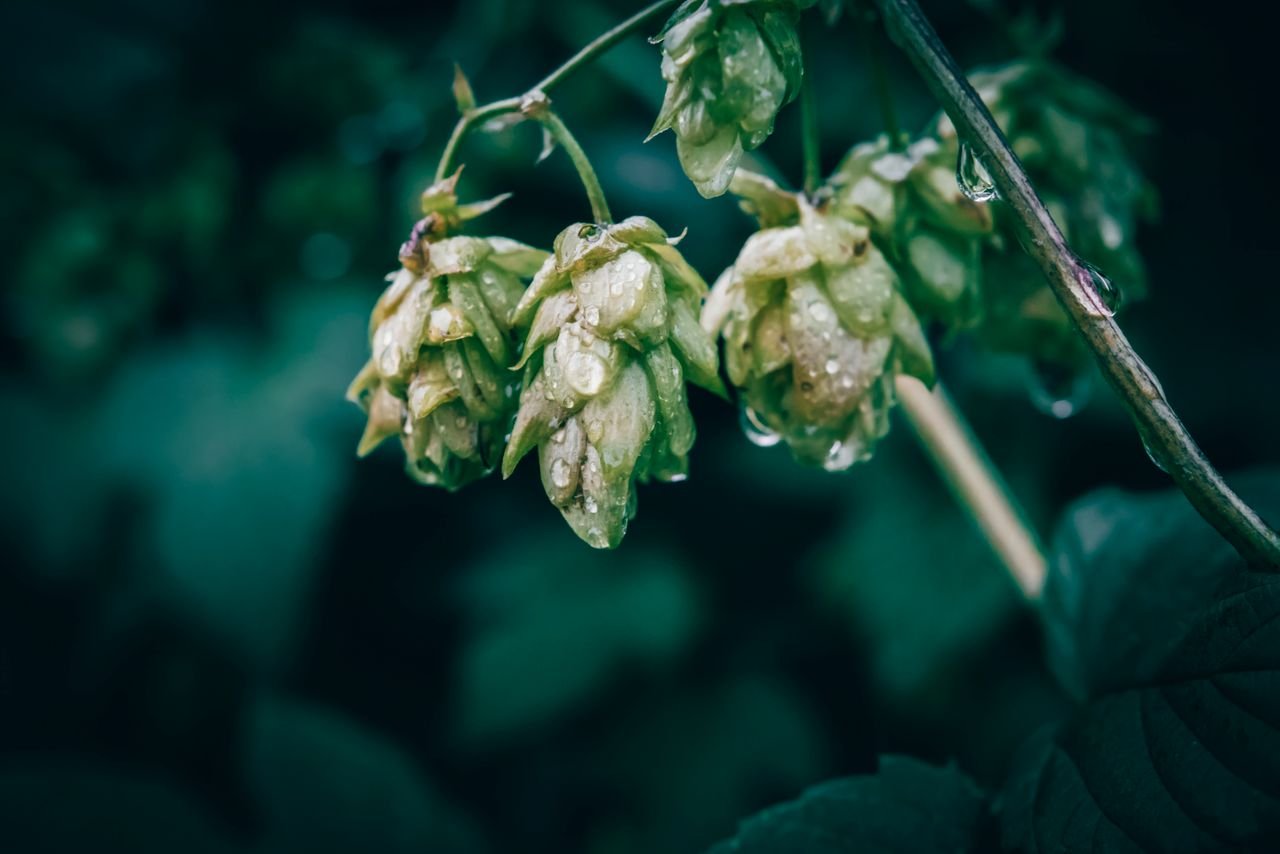
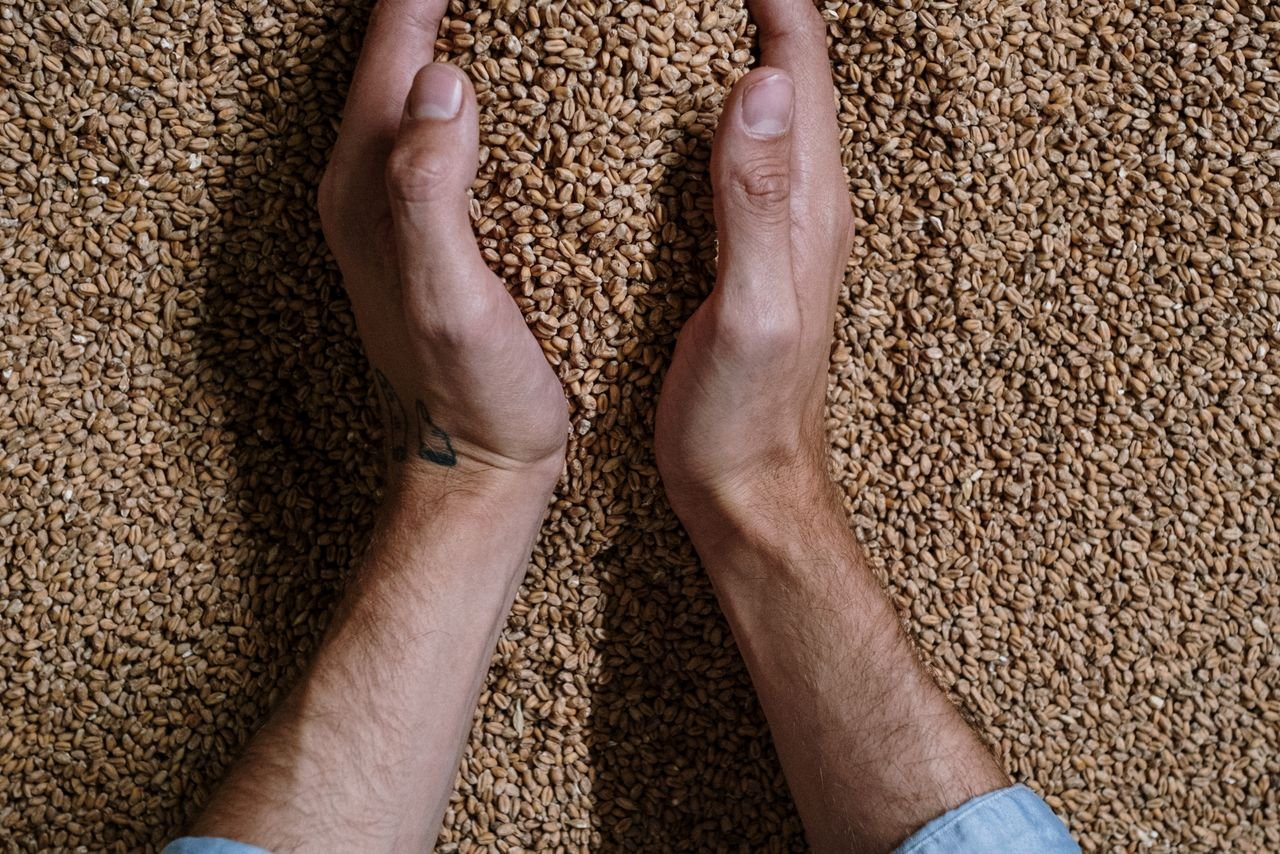
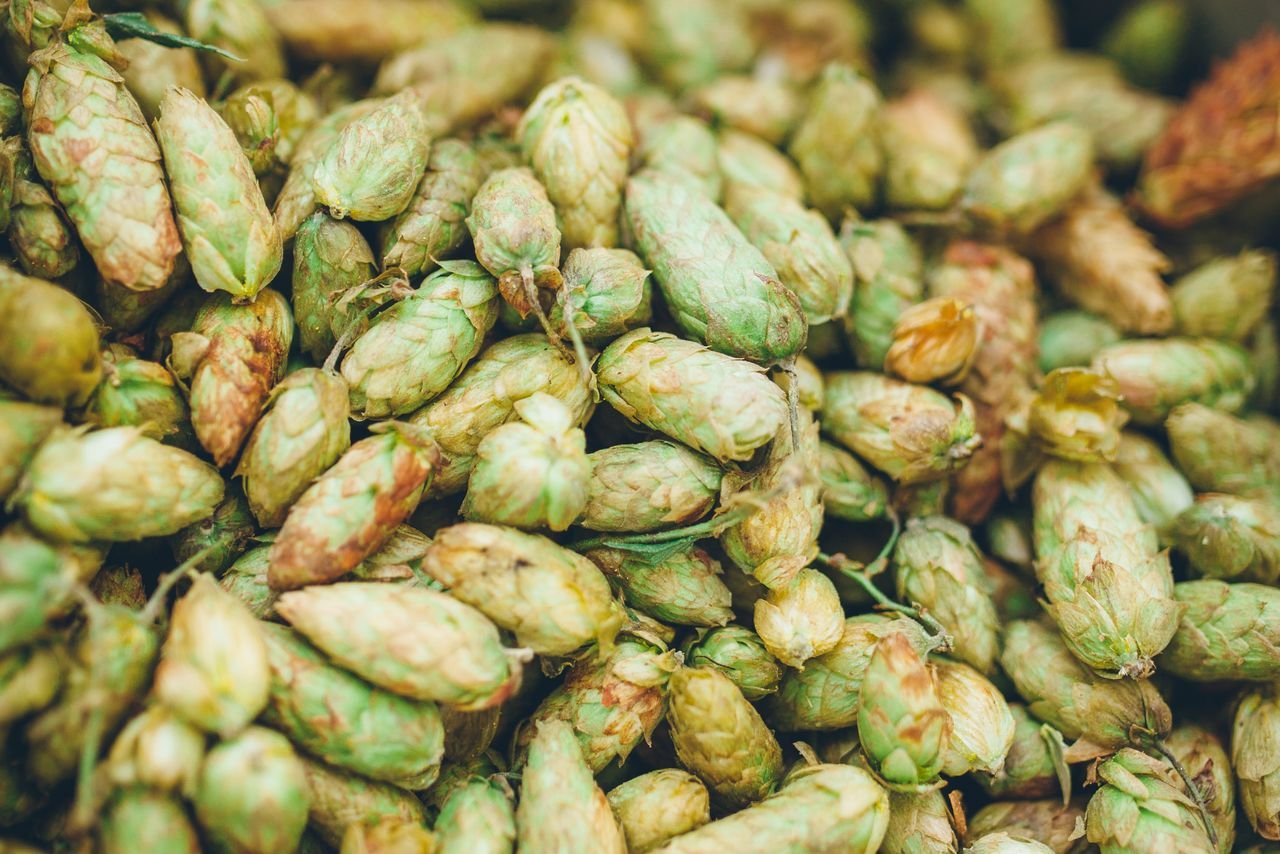
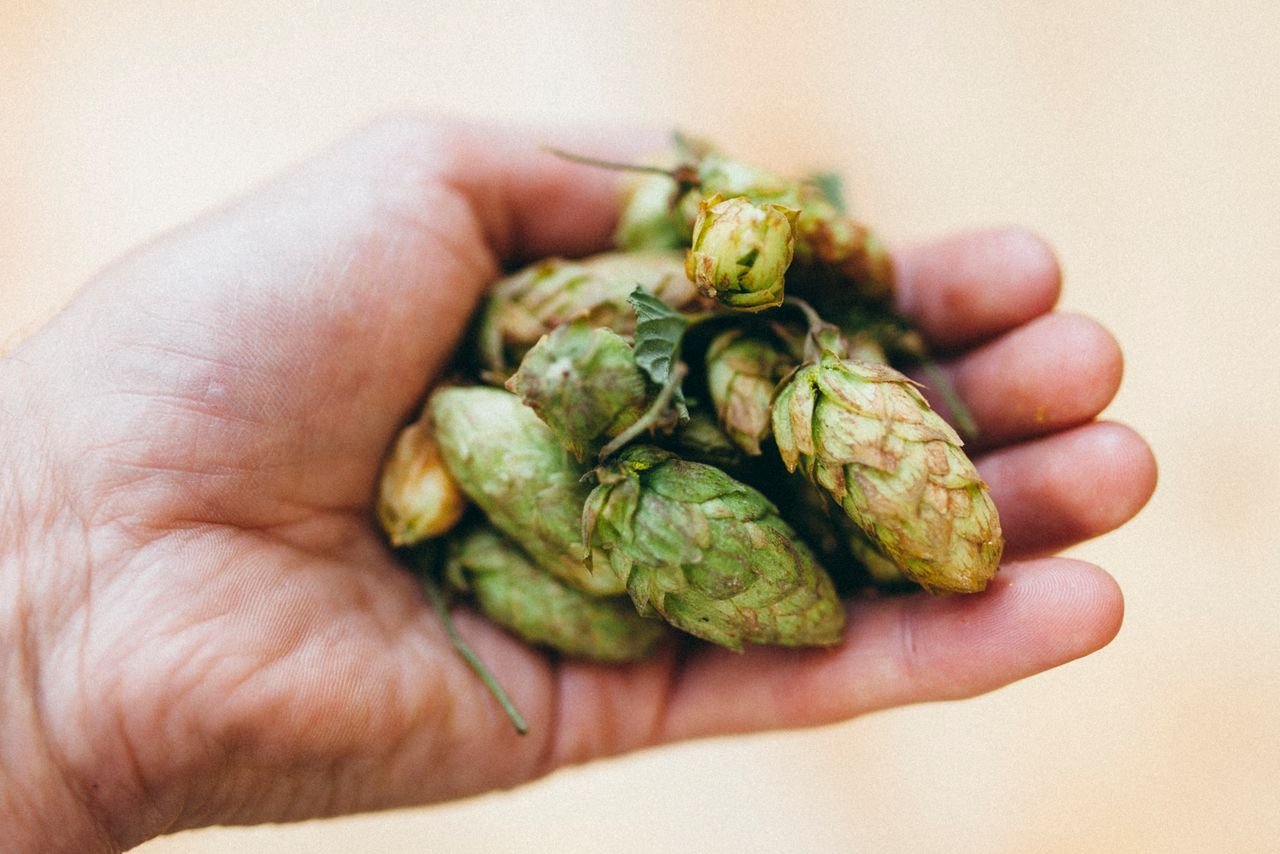
For a deeper look at ingredients — the malt, hops, yeast, and water that actually create your beer’s flavor — explore the full equipment and ingredients hub.