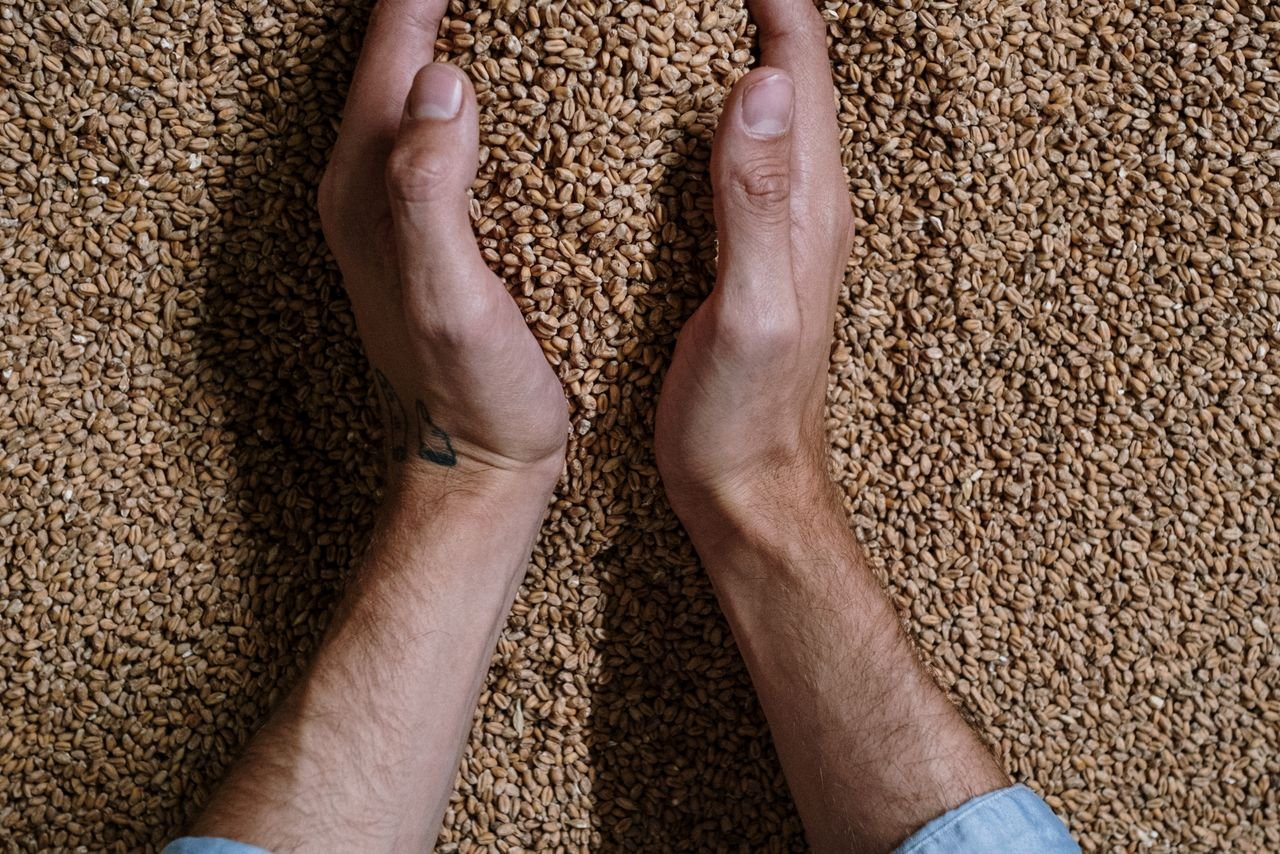
Water is more than 90% of beer by weight, and yet it is the ingredient most homebrewers ignore the longest. That is understandable — “just add yeast and hops” is more immediately rewarding than mineral chemistry. But the brewers who unlock serious consistency and style accuracy almost always credit water chemistry as a turning point. The good news is that you do not need a chemistry degree to make meaningful improvements. A few measurements, a handful of mineral additions, and a basic understanding of pH will get you further than you might expect.
Why Water Chemistry Matters
The mineral content of water directly affects mash pH, yeast health, enzyme activity, and how flavor compounds develop and interact in the finished beer. Consider two classic examples. Burton-on-Trent in England has notoriously hard, sulfate-rich water — historically ideal for the pale ales and IPAs that region became famous for, because sulfate accentuates hop dryness and bitterness. Pilsen in the Czech Republic has some of the softest water in the world, barely mineralized at all, which enables the delicate, soft bitterness of Bohemian Pilsner. Neither style would taste the same if brewed with the other city’s water. The Pilsner Urquell brewery still trades on Pilsen’s exceptionally soft water as a core part of its brand identity.
Key Minerals and Their Effects
Six ions dominate brewing water chemistry. Understanding what each does gives you the vocabulary to read water reports and make adjustments with confidence.
Calcium (Ca²⁺) — the most important ion in brewing water. Calcium promotes enzyme activity in the mash, aids yeast flocculation, reduces astringency by precipitating oxalates, and lowers mash pH. Target 50–150 ppm for most styles; hop-forward styles often benefit from 100–150 ppm.
Magnesium (Mg²⁺) — a yeast nutrient at low levels (10–30 ppm), but sharp, metallic, and sour at higher concentrations. Keep it below 30 ppm in finished water. Most water supplies contain enough; rarely needs to be added.
Sodium (Na⁺) — in modest quantities (under 100 ppm), sodium rounds out malt character and adds a softness to the perception of sweetness. Above 150 ppm it tastes salty; above 200 ppm it becomes harsh and brackish. Low levels (20–50 ppm) are generally beneficial.
Chloride (Cl⁻) — accentuates malt character and roundness. Higher chloride-to-sulfate ratios favor malty, full-bodied styles like porters, stouts, and malt-forward lagers. Target 50–150 ppm for malt-accentuating profiles.
Sulfate (SO₄²⁻) — enhances hop dryness, crispness, and perceived bitterness. Higher sulfate-to-chloride ratios favor hop-forward styles like IPAs and pale ales. Can range from 50 ppm (neutral) to 300+ ppm (aggressively dry, hop-forward). The famous “Burton water” that built the IPA style contained 600–800 ppm sulfate.
Bicarbonate / Alkalinity (HCO₃⁻) — the primary driver of high mash pH. High alkalinity (above 100 ppm) pushes mash pH upward and counteracts the acidic nature of dark malts. Pilsners and light lagers require very low alkalinity; dark beers can tolerate more. Most municipal water treatment adds alkalinity as part of disinfection processes.
| Ion | Low (0–50 ppm) | Medium (50–150 ppm) | High (150+ ppm) |
|---|---|---|---|
| Calcium | Enzyme issues | Ideal for most styles | Fine for hop-forward |
| Sulfate | Soft, malt-forward | Balanced | Dry, crisp, hoppy |
| Chloride | Thin, neutral | Rounded, malt-forward | Sweet, full |
| Sodium | Fine | Soft, rounds malt | Salty, harsh |
| Bicarbonate | Ideal for pale beers | Acceptable for amber | Use with dark malts |
Understanding Mash pH
Mash pH is the single most impactful variable in all-grain brewing that most beginners ignore. The mash — where enzymes convert starch to sugar — functions optimally at a pH of 5.2–5.4. Outside this range, enzyme efficiency drops, conversion becomes incomplete, and the resulting wort can taste harsh, thin, or excessively astringent.
Pale malts naturally lower mash pH slightly during conversion. Dark roasted malts lower it significantly. Base water with high alkalinity raises it. The interplay between your grain bill and water profile determines your starting mash pH, and mineral additions let you adjust it.
The Brewers Association considers pH management foundational to professional brewing practice. The American Homebrewers Association has approachable guides for homebrewers on measuring and adjusting mash pH.
A digital pH meter is the most reliable way to measure mash pH. Take a small sample of mash liquid (let it cool to room temperature — temperature affects pH readings) and measure within the first 10–15 minutes of the mash. Strips work for a rough check but lack the precision needed for recipe development.
Adjusting Your Water: The Practical Tools
Mineral additions (salts). The common brewing minerals available at any homebrew shop are:
- Gypsum (CaSO₄) — adds calcium and sulfate; sharpens hop character
- Calcium Chloride (CaCl₂) — adds calcium and chloride; rounds out malt character
- Epsom Salt (MgSO₄) — adds magnesium and sulfate; use sparingly
- Baking soda (NaHCO₃) — raises alkalinity; useful for dark beer water profiles
- Chalk (CaCO₃) — adds calcium and bicarbonate; poorly soluble, use with caution
- Lactic acid or phosphoric acid — lowers mash pH directly; the most reliable tool for pH correction
These minerals are dosed in grams per gallon or per liter, with effects calculated in parts per million. Free tools like Bru’n Water, Brewer’s Friend, and the How to Brew companion calculator handle the math automatically once you enter your source water profile.
Know Your Source Water
Before you can adjust your water, you need to know what you are starting with. There are three approaches:
Municipal water report. Contact your local water utility and request their most recent water quality report. Most utilities publish this online. The report will list the mineral ion concentrations, pH, and chlorine/chloramine treatment.
Water test kit. A few companies (Ward Labs, Midwest Supplies) offer mail-in water tests for brewing that give a detailed mineral analysis for $20–40. Worth doing if your municipal report is old or unclear.
Reverse osmosis (RO) water. RO water is essentially mineral-free, giving you a blank canvas. You add back only what you need for your target profile. This is the most controllable approach and popular among serious homebrewers who want full profile control for every batch. Untappd community notes on classic commercial beers often hint at the water profiles that made them famous. The Wikipedia article on brewing water has a useful overview of the famous brewing cities and the mineral characteristics that shaped their signature styles.
Bottled water. A temporary fix for beginners — spring water with a published mineral profile can work, but it is expensive and inconsistent. RO water is a better long-term solution if your tap water is problematic.
Chlorine and Chloramine: Remove Before Brewing
Most municipal water is treated with chlorine or chloramine to make it safe to drink. Both will kill or stress your yeast at sufficient concentrations, and chlorine compounds react with organic compounds in beer to produce medicinal, plastic, or antiseptic off-flavors.
Chlorine off-gasses from still water over 24 hours or during a boil. Chloramine does not — it requires treatment with a Campden tablet (potassium metabisulfite). One crushed Campden tablet neutralizes chloramine in up to 20 gallons of water almost instantly. It is cheap, effective, and should be used in every batch if your water source uses chloramine. Your local water report will tell you which treatment your utility uses.
A Simple Target Profile for Beginners
If you want to start experimenting with water additions without deep analysis, here is a straightforward two-profile approach:
Balanced ale profile (works for most pale ales, ambers, stouts):
- Calcium: 75–100 ppm
- Sulfate: 75–100 ppm
- Chloride: 75–100 ppm
- Achieve this by starting with low-mineral water and adding equal parts gypsum and calcium chloride
Hop-forward profile (IPAs, pale ales):
- Calcium: 100–150 ppm
- Sulfate: 150–300 ppm
- Chloride: 50–75 ppm
- Add more gypsum than calcium chloride; acid to achieve mash pH 5.3
For a deeper dive into how water interacts with the brewing process end-to-end, the Master Brewers Association of the Americas publishes technical articles and water chemistry resources used by professional brewers worldwide.
If you are on the all-grain path and want to understand how water interacts with your mash, read it alongside the brewing process step by step guide to see where water chemistry fits into the full picture.
The Brew Professor Takeaway
You do not need to master water chemistry to brew good beer — many excellent homebrewers work happily with filtered tap water and a Campden tablet for years. But if you want to understand why your IPA is not quite as dry as the commercial example you love, or why your porter tastes a little thin, water is often the answer. Start by removing chloramine, learn your source water mineral profile, and try a simple gypsum or calcium chloride addition on your next batch. The improvement can be immediate and striking. Water chemistry is not a rabbit hole — it is a dial, and even small turns make the beer taste more like what you intended.